

GenAI Made Terraform More Relevant Than Ever
Infrastructure as Code is more alive than ever, but it is no longer something teams should write line by line.

The Deployment Bottleneck No One Talks About
The real bottleneck might not be in your pipeline but rather in how your application interacts with cloud services.
Can AI Generate Functional Terraform?
LLMs can generate syntactically correct Terraform HCL code, but can they generate Terraform

Deploying on Demand can help with your DORA goals
Deploying on demand enhances DORA metrics by reducing bottlenecks and increasing automation.
Nitric versus other IaC Tools
If we do change IaC tools what are the alternatives?

Convergent evolution
Why All the Major Cloud Platforms Are the Same

How IAM Missteps Cause Data Breaches
Most permission-checking tools lack in-depth understanding of whether the permissions granted really do align with applications needs.
Hey ops people, you’re doing it wrong. (But we can fix it!)
Challenging operations teams on a commonly made mistake

Cloud SDKs Can Chain You Down
With the right level of abstraction over cloud resources, we can separate the responsibilities and concerns of developers and operations teams.

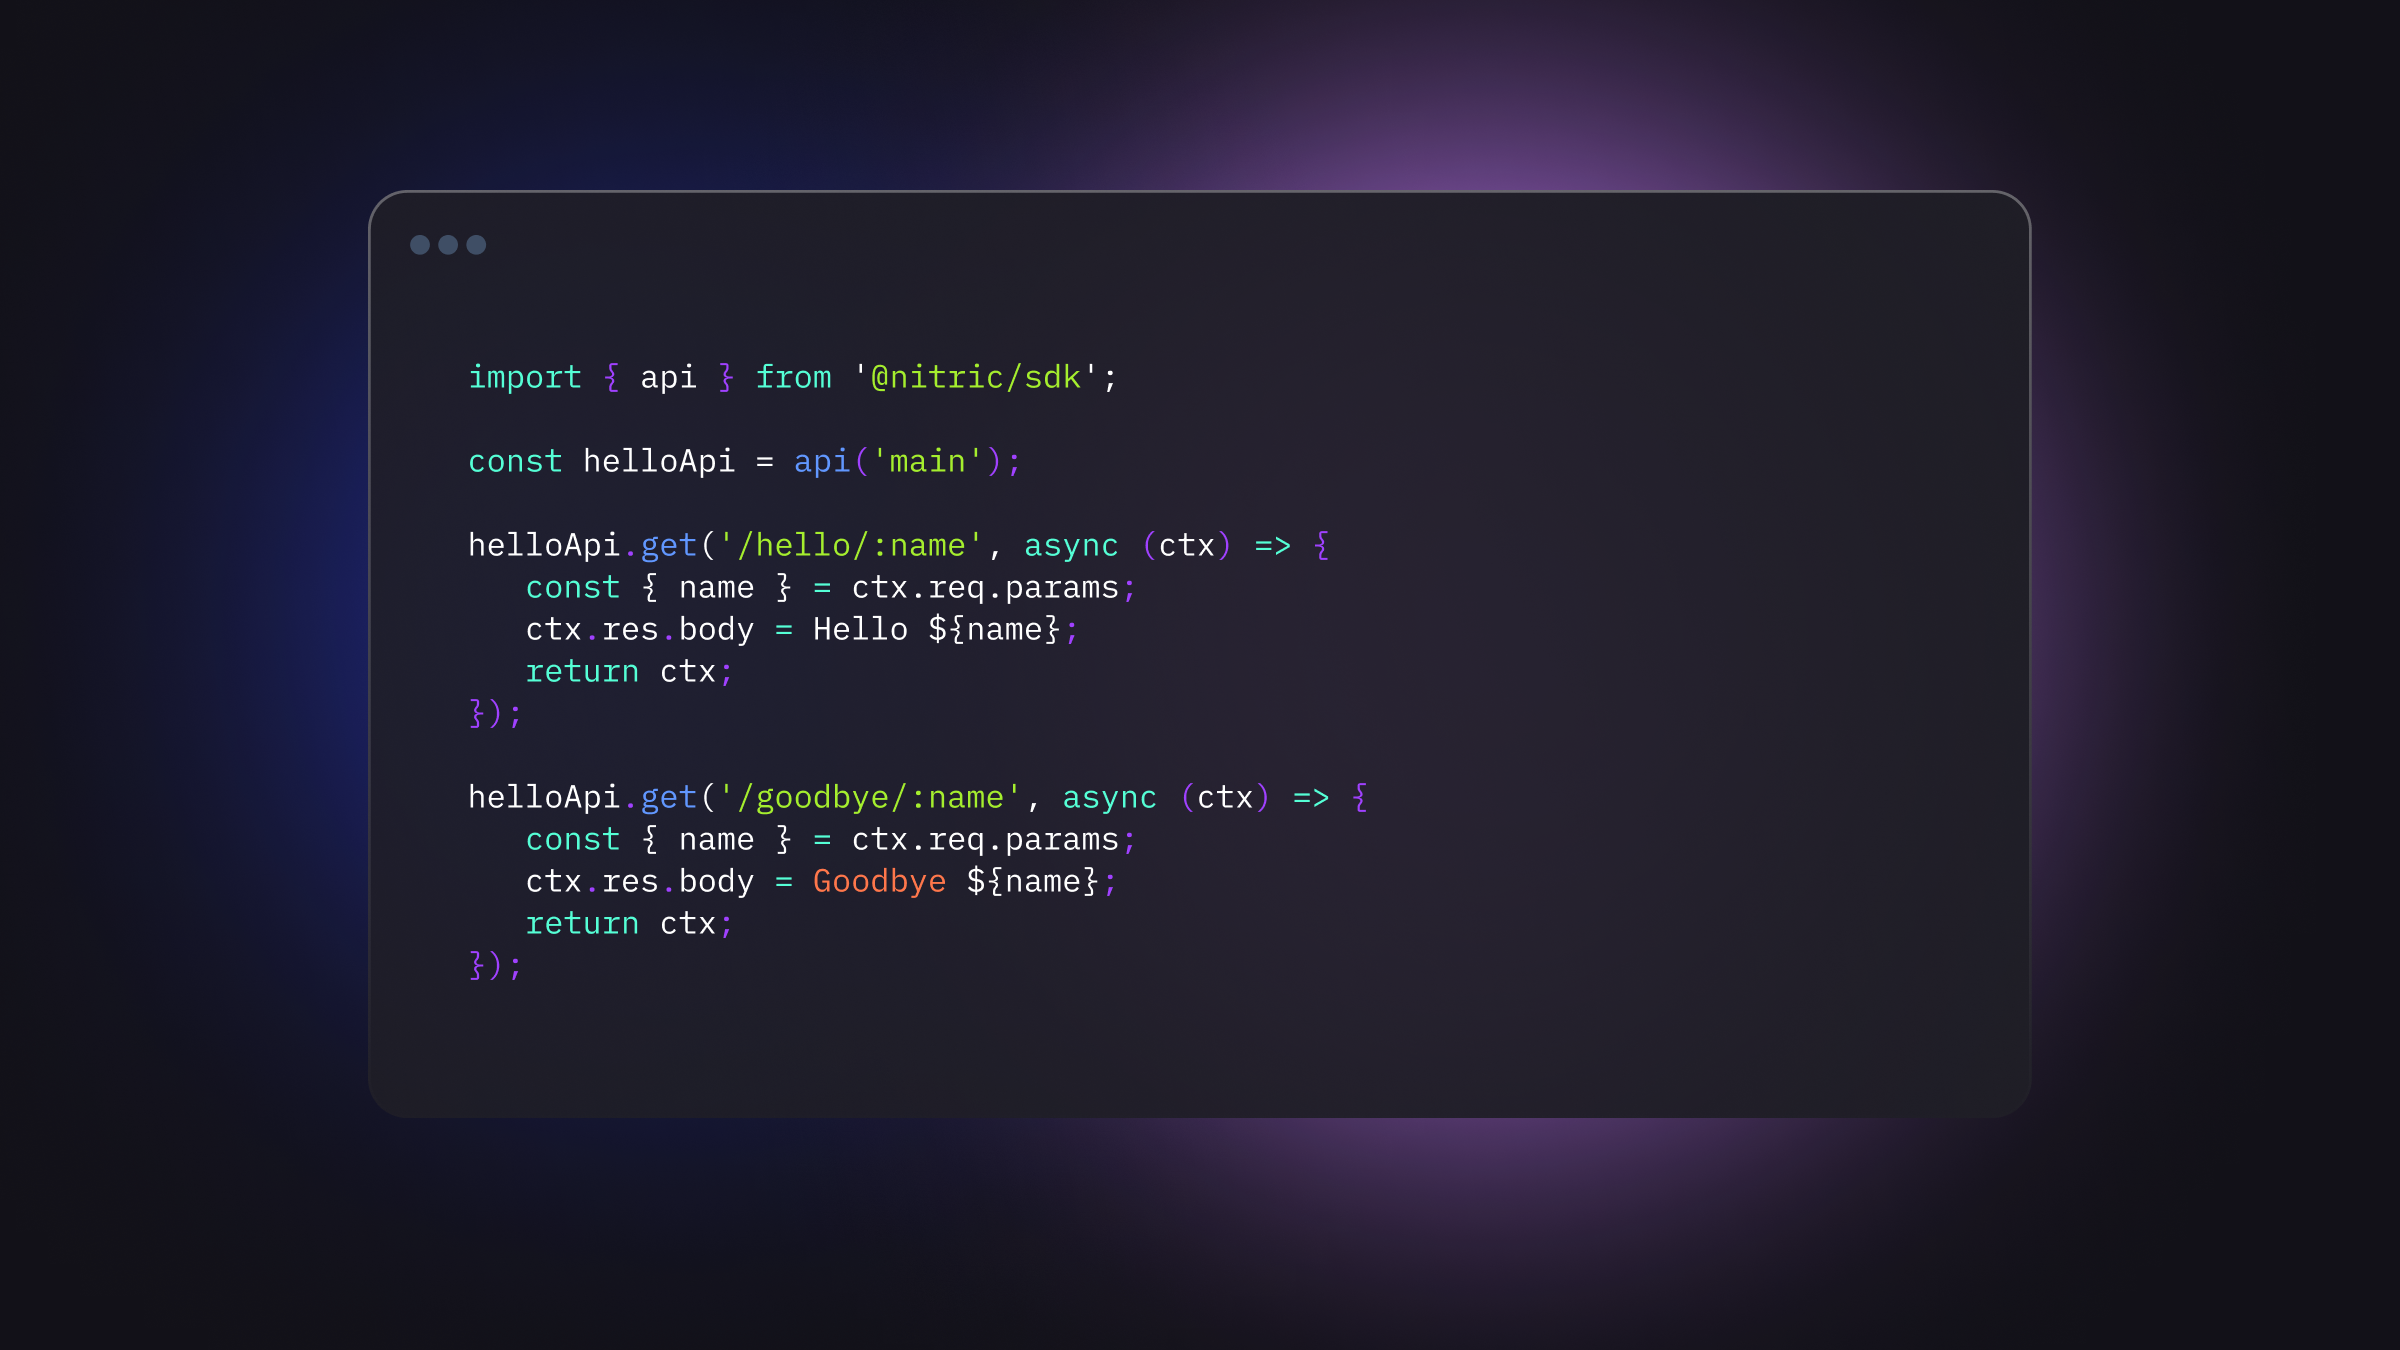
Polyglot projects made easy with Nitric
Nitric makes building cloud applications in multiple languages a breeze


Nitric adds Deno 2 support
Building applications with Deno 2 and Nitric


The Servers Behind Serverless
Examining the CPU hardware capabilities of AWS Lambda, Azure Container Apps and Google Cloud Run

Introducing Nitric for AI and More
Nitric Batch for ML, AI and high-performance compute workloads on AWS, Azure, GCP and more

State of Infrastructure from Code 2024
In recent years, Infrastructure from Code (IfC) has become a recognized category in software development and deployment.

Nitric is Terraform for Developers
Nitric and Terraform document the requirements of applications in a clear, concise, and executable fashion

Terraform Teams: Automate Infrastructure Requirement Gathering
By bridging the gap between dev and ops teams with automated resource specifications, you can create a more harmonious and efficient deployment process.

What is Infrastructure from Code?
Infrastructure from Code for Infrastructure as Code users

Enabling Developer Autonomy with Terraform Platform Engineering
Using Terraform to create internal developer platforms.


Remotely Producing Terraform from an API
Taming Terraform and making an API that produces it.

Terraform vs Pulumi: Which IaC tool is right for you?
Dive into a detailed comparison of Terraform and Pulumi using Nitric as we deploy the same app to AWS with both tools.

Working with Terraform Can Be Much Faster
How consistent, generated Terraform from application code improves productivity

Maximizing Terraform Modules for Platform Engineering
A look at two common practices, their challenges and the changes teams can make to harness the full power of Terraform modules.

Easily Customize Nitric's Terraform Providers
See how to quickly adjust Nitric Terraform providers with server-side encryption.

Nitric’s Terraform Providers: Transform Your Terraform Workflows
Using Nitric in your existing Terraform flows

The Fastest Cloud Development Happens Locally
Optimizing speed, flexibility, and debugging in modern local environments.

The Finer Details of Nitric’s Automation
Learn about the Nitric Framework and how you can customize your infrastructure

Infrastructure from Code Gives Ops Needed Freedom
IfC automates the handover process between teams, essentially creating a bridge over the often-troubled waters of inter-team collaboration.

Nitric Update - June 2024
June 2024 update on Nitric and the community

Infrastructure from Code with Terraform Modules
Explore the PoC and design choices we made for this provider

How IfC Complements IaC
Listen in as our Co-Founder Jye Cusch talks about Nitric and Terraform

Infrastructure from Code FAQ
Learn more about IfC through these frequently asked questions


How Startups Can Delay Cloud Choices
Listen in as our Co-Founder Jye Cusch talks about the use case for Nitric in startups

Achieve Cloud Native without Kubernetes
Managed services let developers focus on applications, leaving infrastructure, scaling and server management in the cloud provider’s capable hands.

Avoiding Cloud Lock-in
Listen in as our Co-Founder Jye Cusch talks about cloud learnings

Nitric Update - April 2024
April 2024 update on Nitric and the community
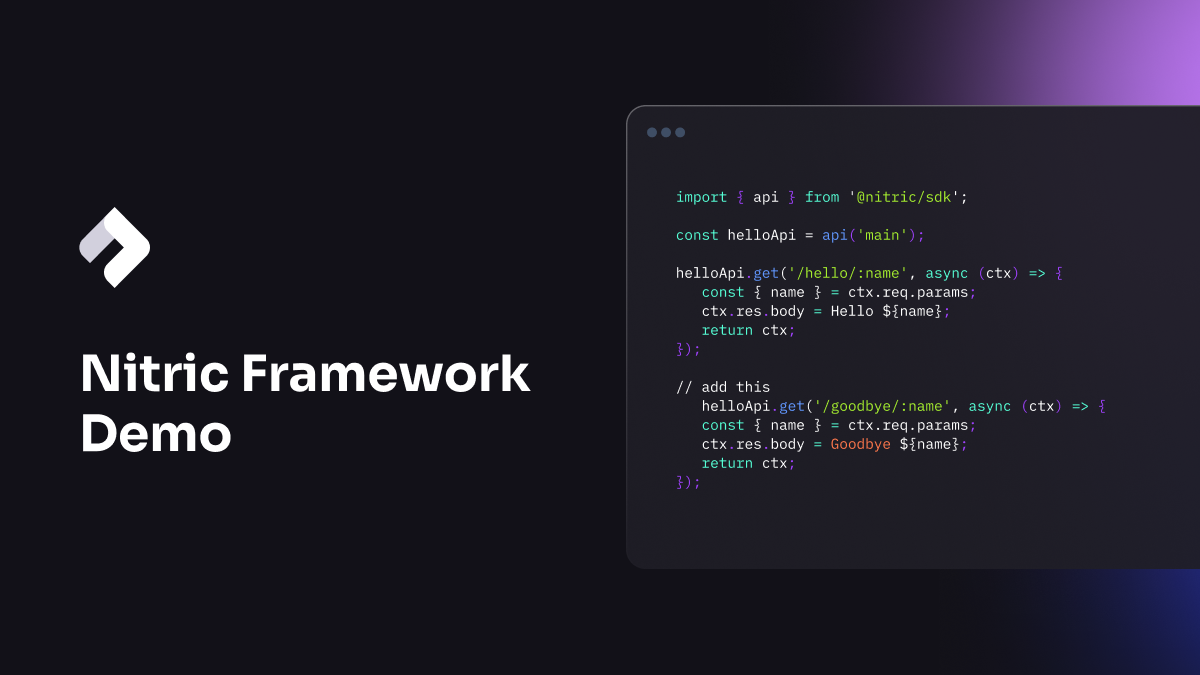
Building with Nitric - A Framework Demo
See how to build cloud-native apps with the open source Nitric framework
Customizing and Extending the Nitric Framework
Listen in as our Co-Founder Jye Cusch describes Nitric’s flexibility

Achieve GitOps on Day One with IaC Automation
GitOps helps redefine how we manage infrastructure and application deployments in environments where precision, automation and transparency are vital.
Cost Efficiencies with Azure and Serverless
How much will it really cost to run a serverless application?
How Nitric V1 Changes Cloud Development
Listen in as our Co-Founder Jye Cusch tells the Nitric story

4 Lessons Learned from Building Microfrontends
By decoupling databases and improving resiliency, microfrontends give websites and applications the same benefits as microservices provide backends.
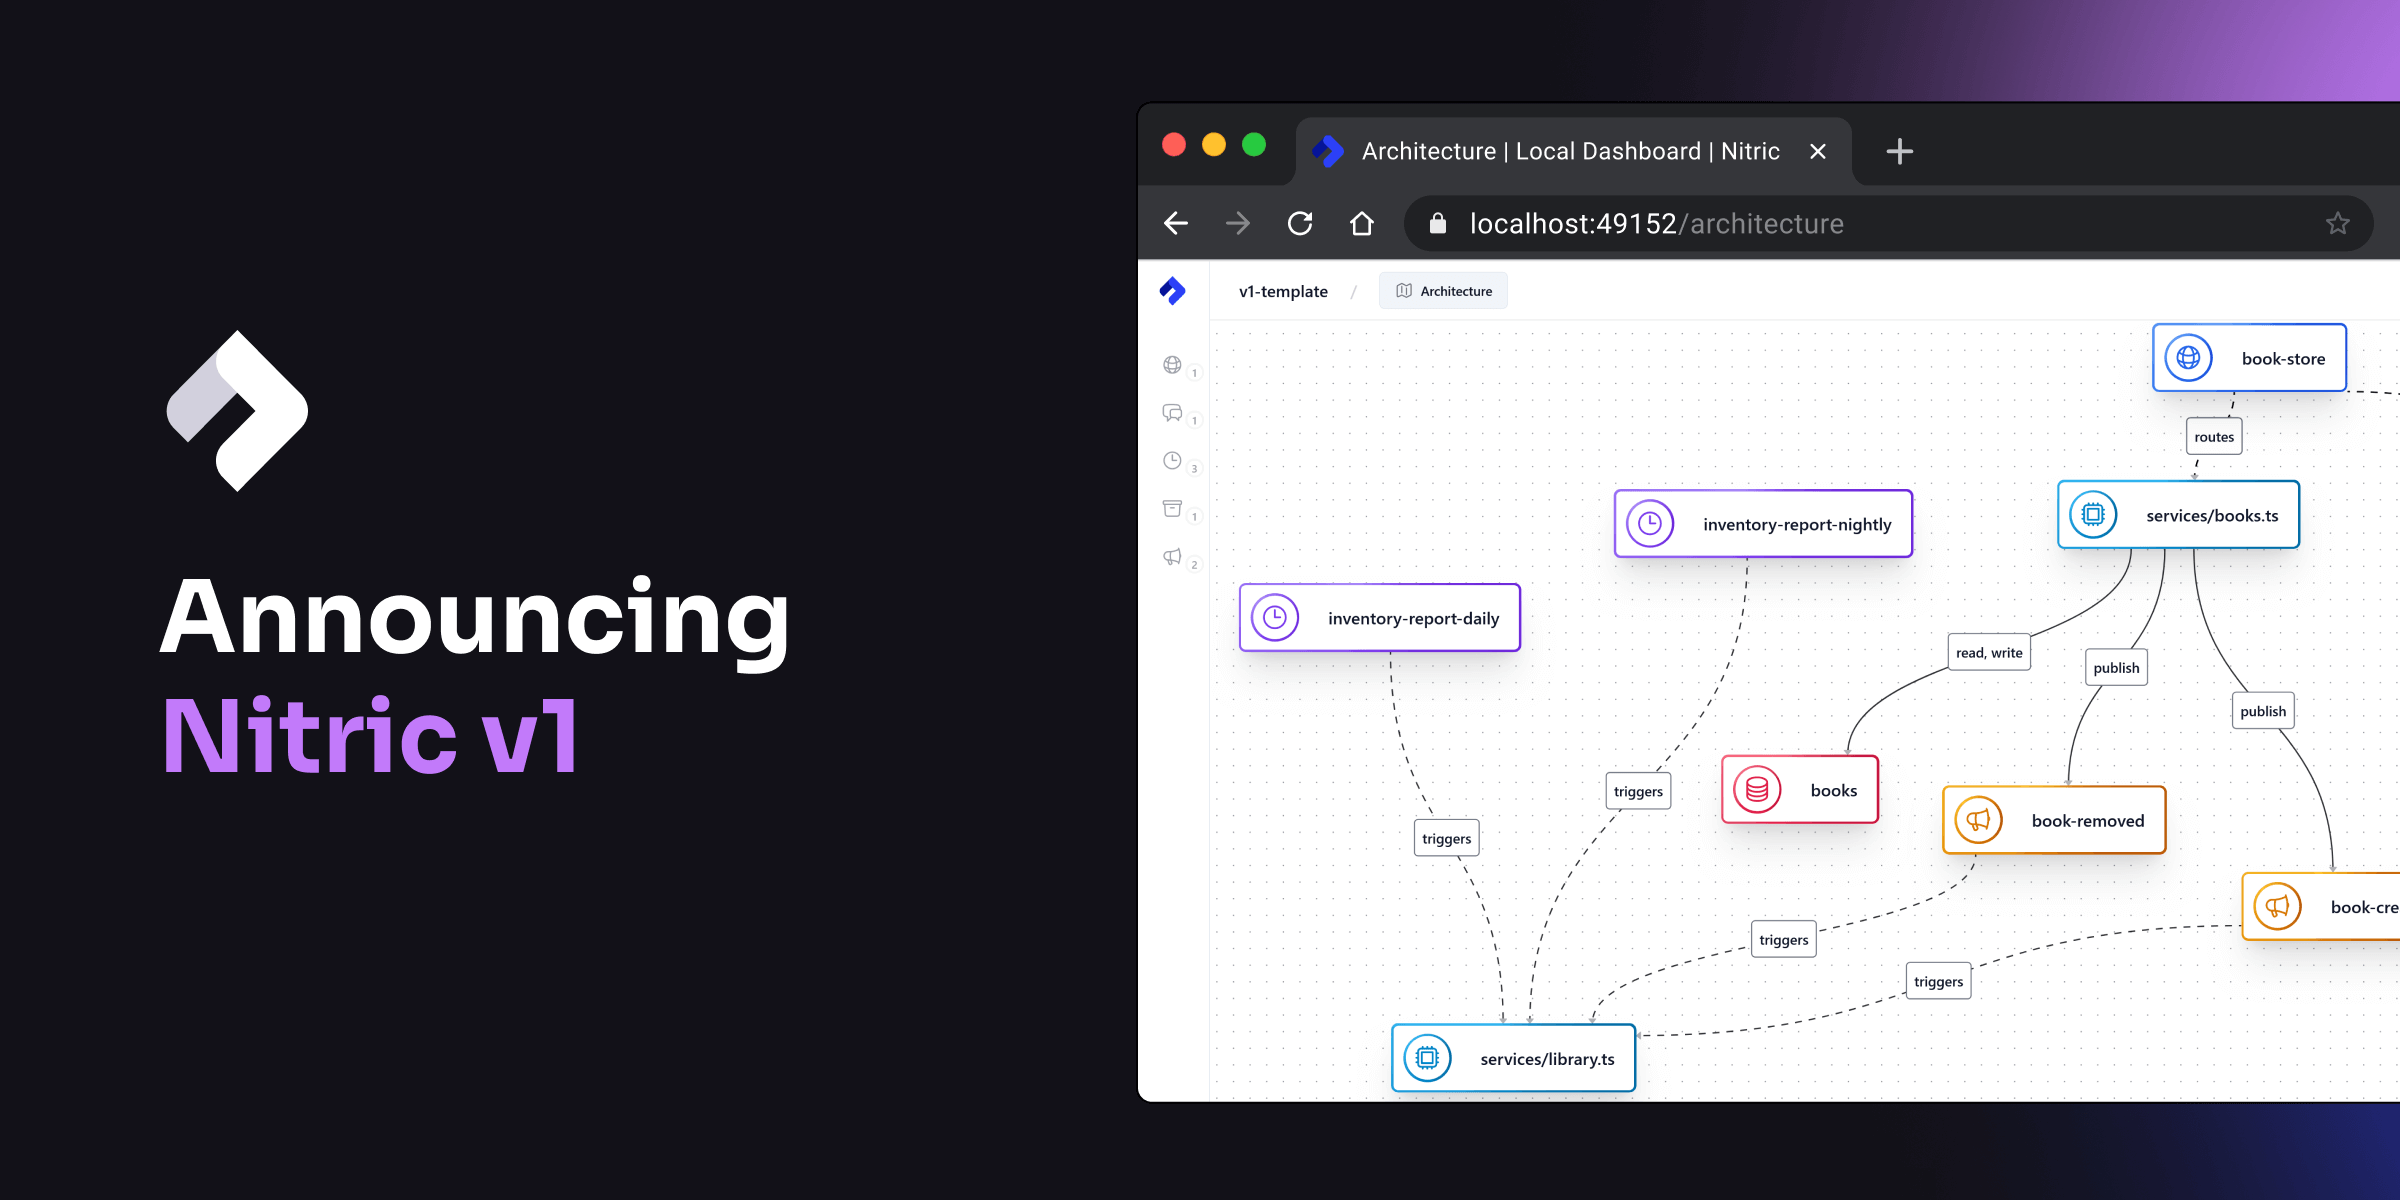
Announcing Nitric version 1.0.0!
Check out what’s new in our first major release
Automated Cloud Infrastructure Deployment with GitHub Actions and Nitric
Nitric's GitHub Action makes it easy to create automated CI/CD pipelines.
Speeding up Azure Development by not Handcrafting Terraform
Creating an e-commerce website to compare the productivity of Terraform and Nitric.

How Much Infrastructure Code Are Your Teams Writing?
Infrastructure as Code may be unnecessarily slowing down your teams and cloud deployments.

Automate AWS Security Auditing with Cloudsplaining
Create a GitHub actions CI/CD pipeline which automates AWS infrastructure security auditing with cloudsplaining.
Nitric Update - November 2023
November 2023 update on Nitric and the community

The Hidden Toll of Infrastructure on Developer Productivity
Unlock developer creativity by removing infrastructure burdens

Build Cloud-native Applications in Go
Check out Nitric's support for Go for deploying cloud resources
Why we started with Pulumi
Top reasons for implementing our standard providers with Pulumi
Nitric Update - September 2023
September 2023 update on Nitric and the community
Patterns as Code
Express common cloud patterns in code using Infrasutrcture from Code

Drop Bio Health uses Nitric to transform developer productivity and deliver business value quickly.
Drop Bio Health uses Nitric to transform developer productivity and deliver business value quickly.

ID Verification Provider unlocked elastic scaling, cost optimization and development velocity with Nitric.
ID Verification Provider unlocked elastic scaling, cost optimization and development velocity with Nitric.
Nitric Update - July 2023
July 2023 update on Nitric and the community
Build real-time applications with Nitric 🔌
Nitric now supports websockets, enabling the building of real-time applications.

Enhance Express.js, Koa, Fastify and other web frameworks with Nitric
Discover how Nitric's latest feature enables developers to leverage third-party web frameworks like Express.js, NestJS, Koa and Fastify. Learn how to enhance your existing projects with Nitric's powerful, cloud-native features and services for a seamless and empowering development experience.
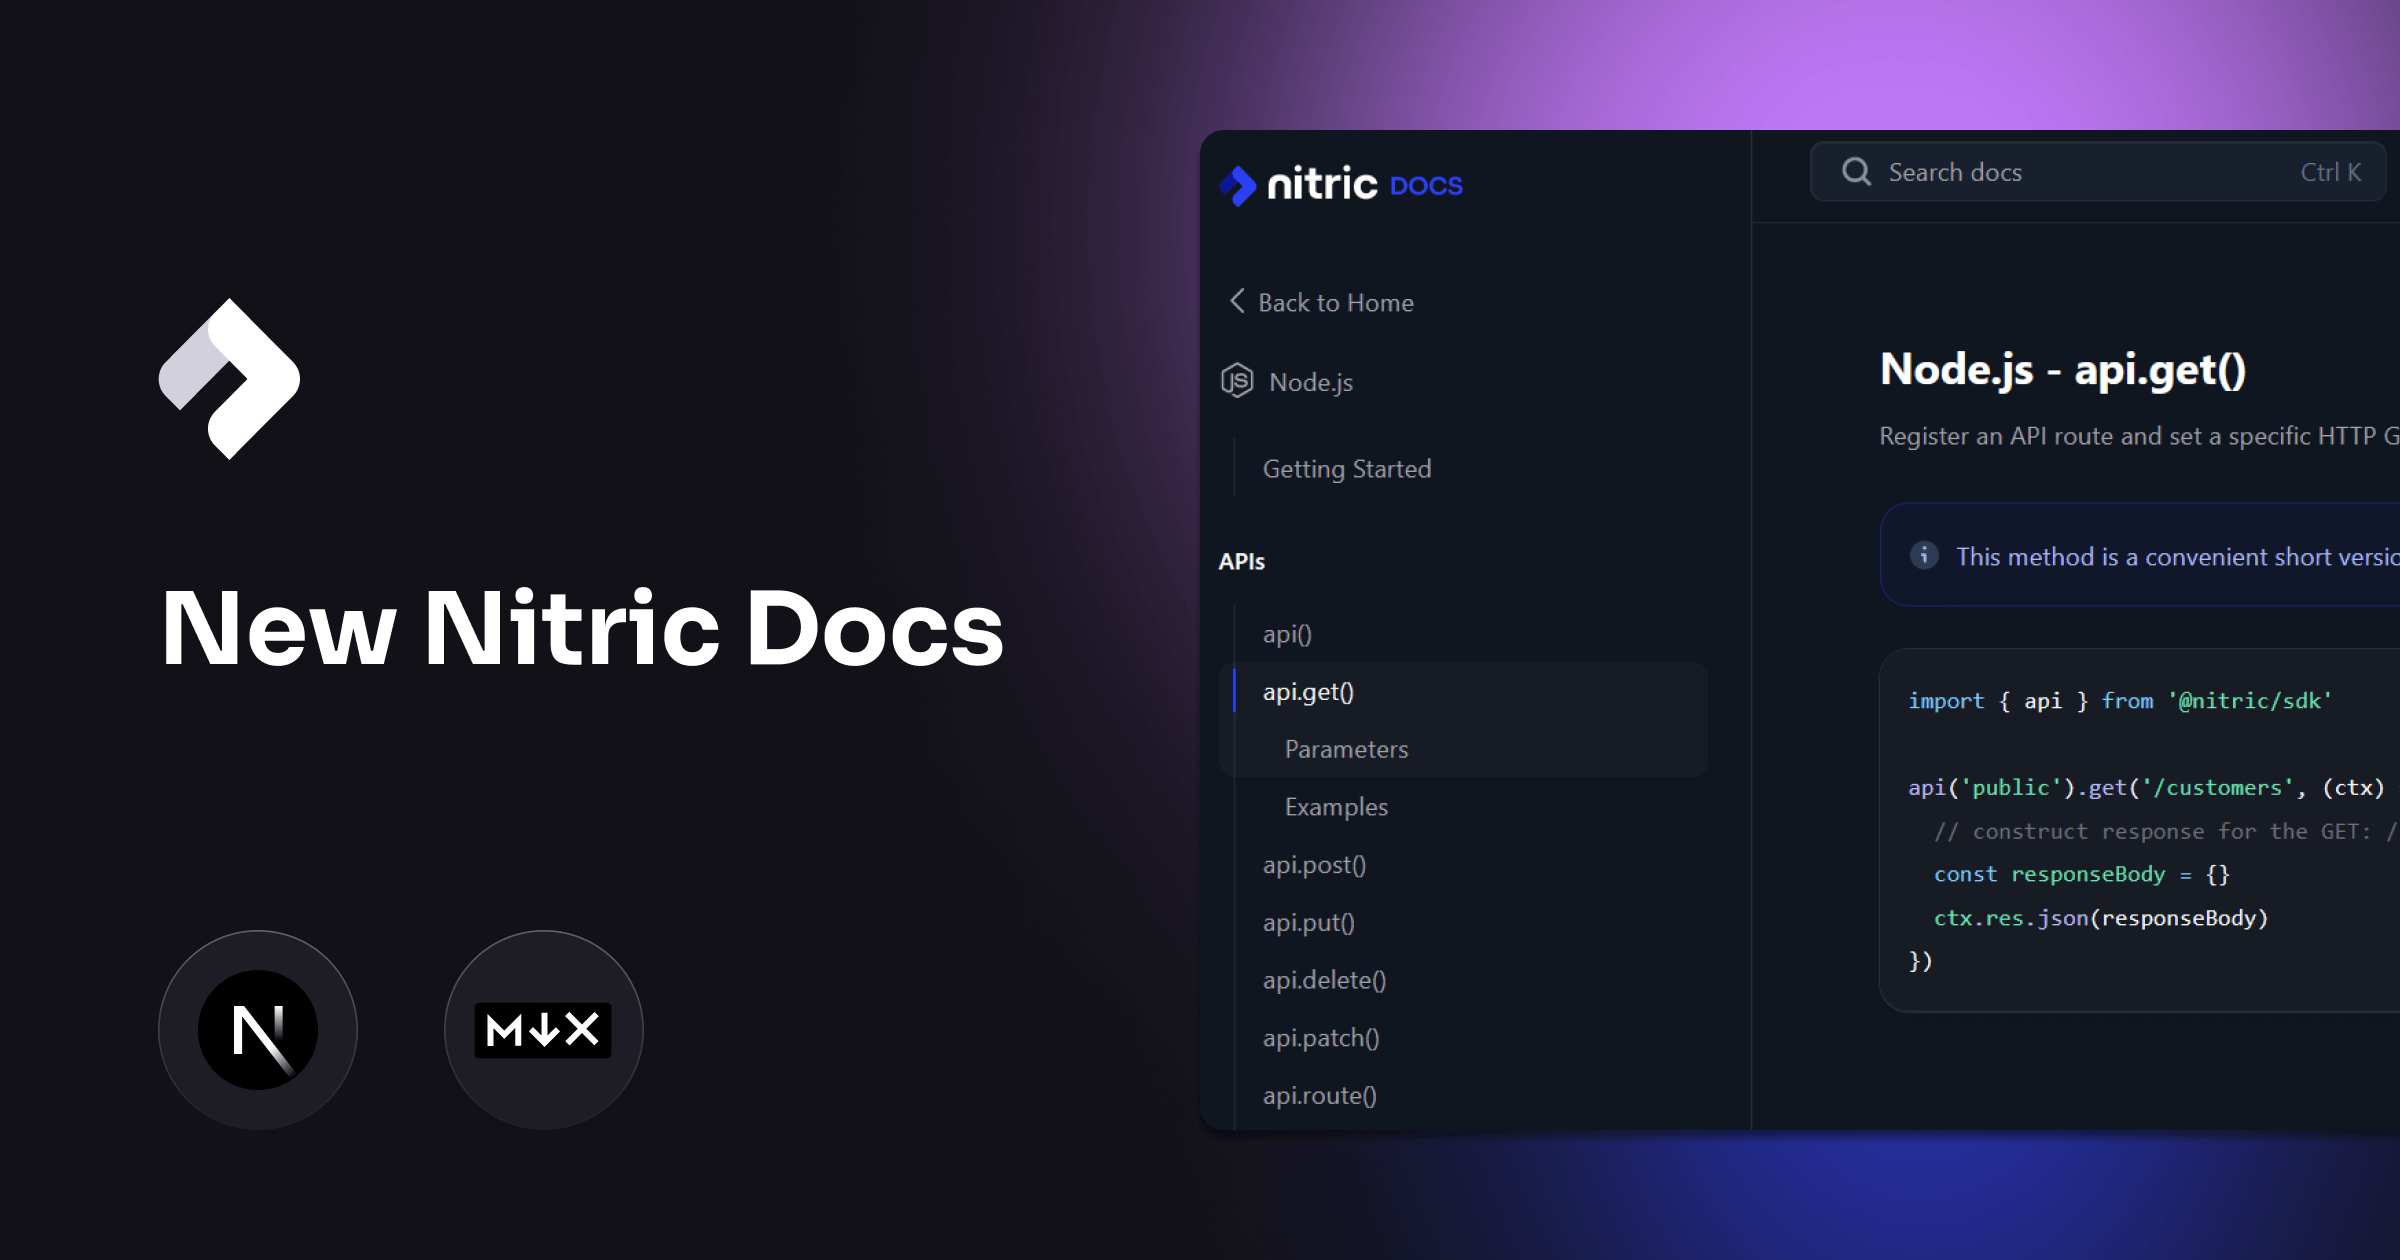
New Nitric Docs, built for Collaboration
Introducing the New Nitric Docs Website, Enhancing Collaboration and Streamlining Information
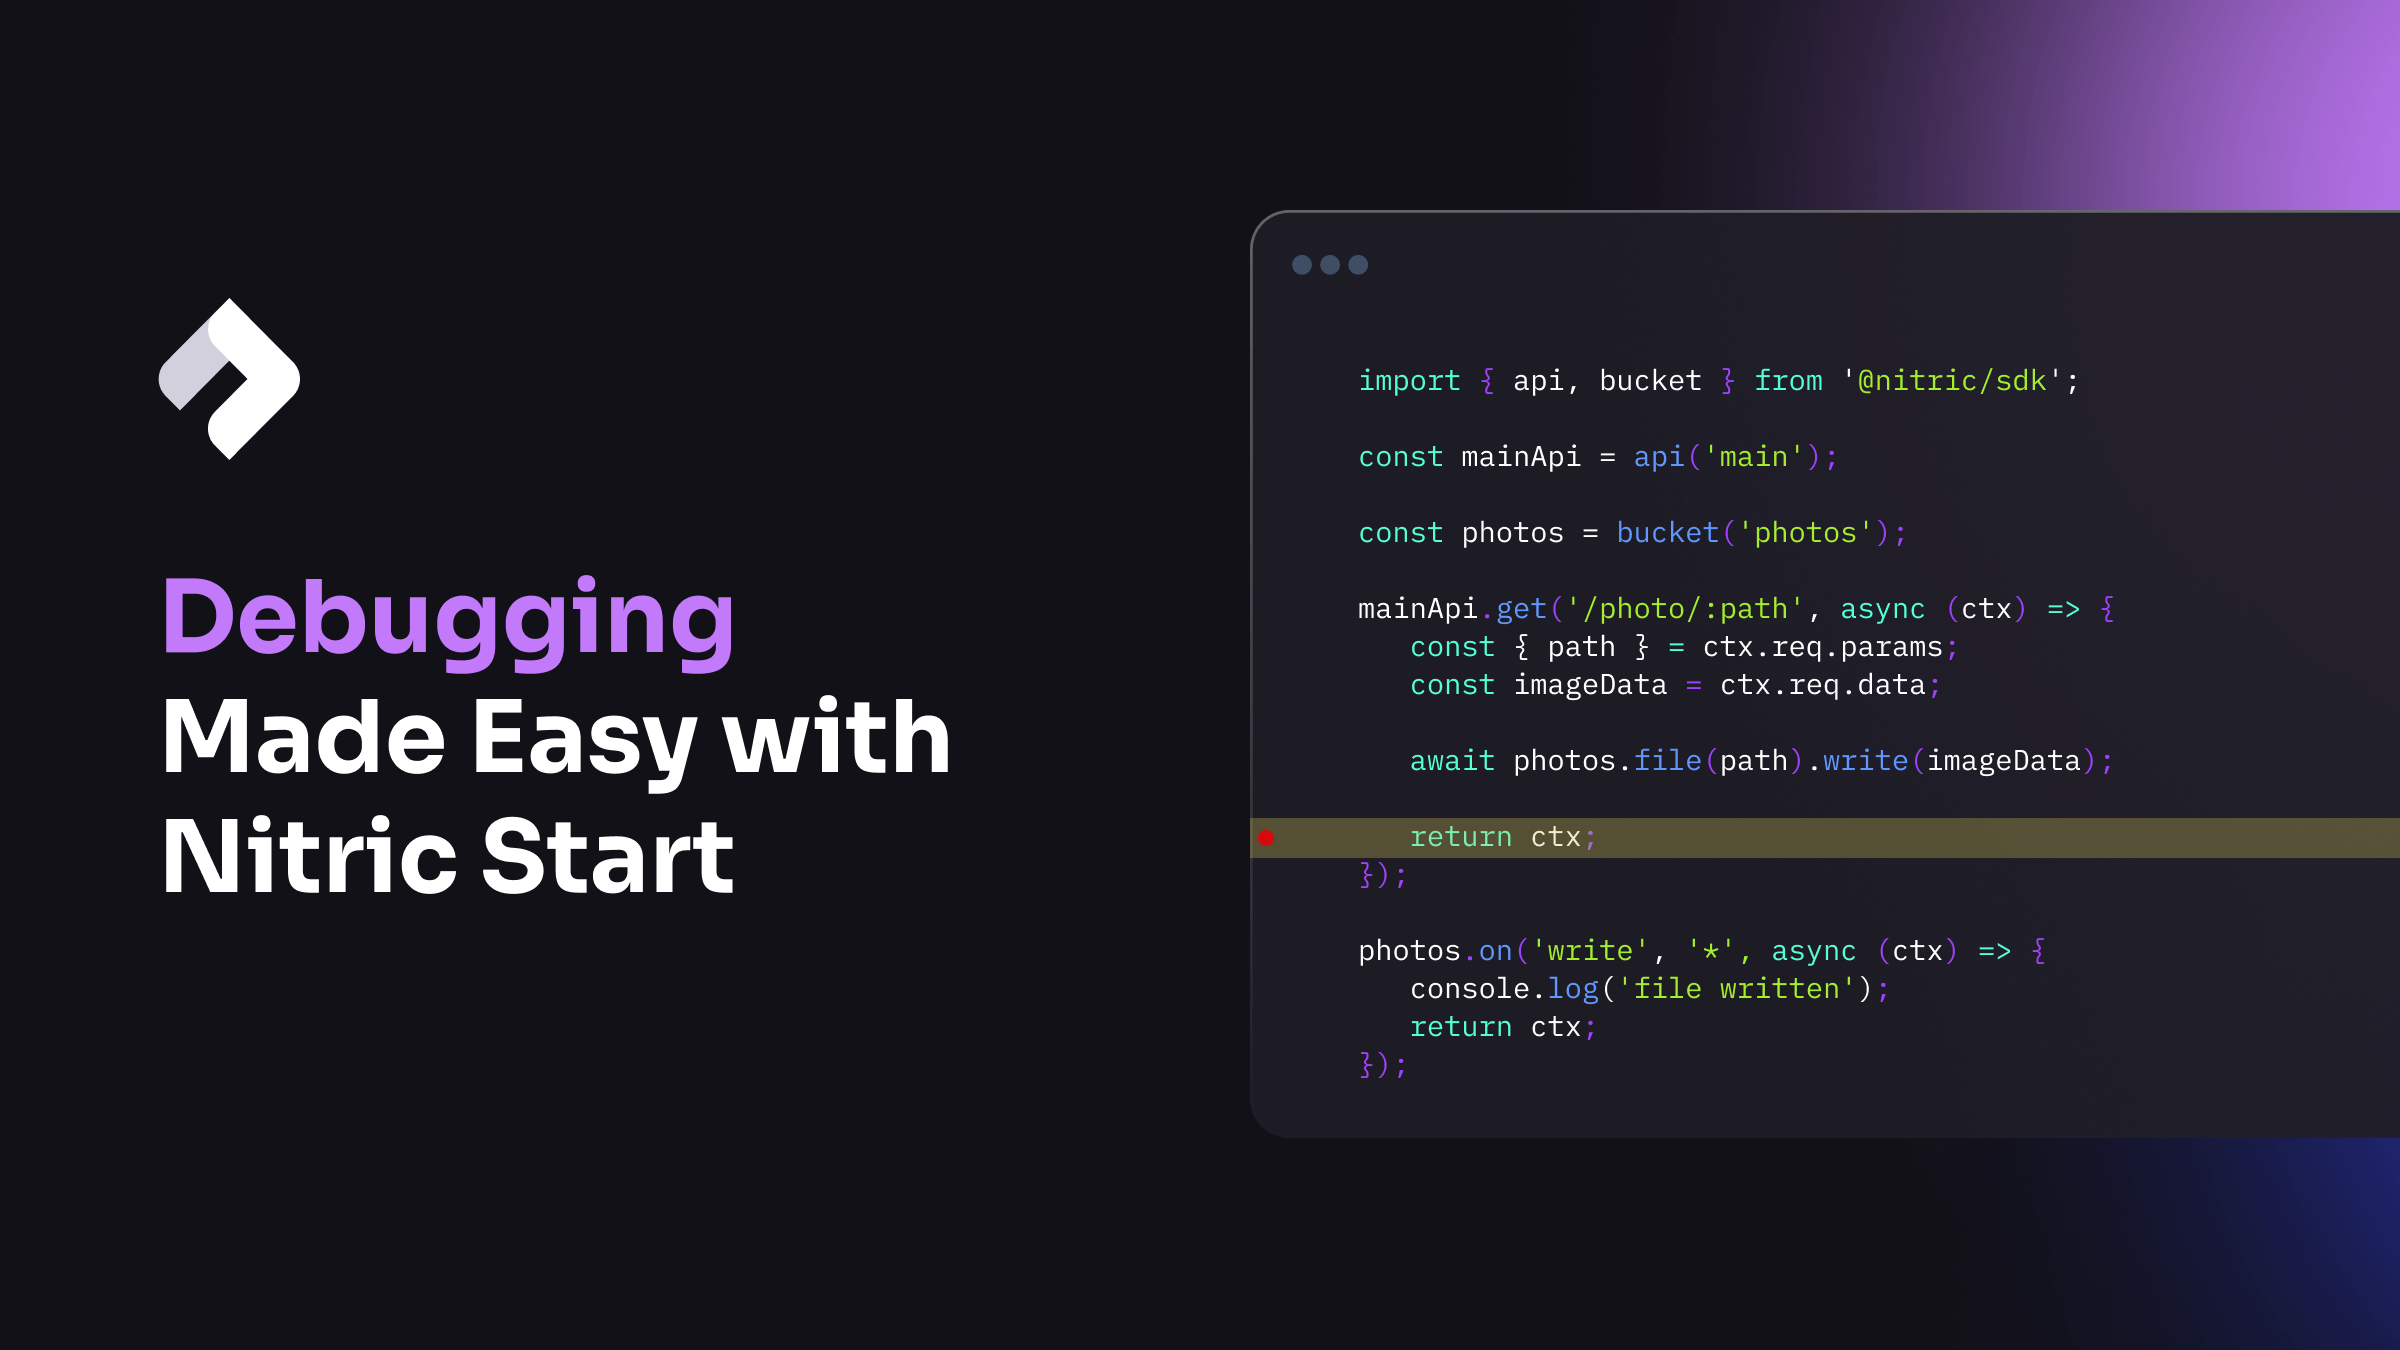
Debugging Made Easy with Nitric Start Command
Learn how to easily debug your applications using Nitric Start command and enhance your developer experience with streamlined debugging processes.
Nitric Update - June 2023
June 2023 update on Nitric and the community
Simplifying Cloud Security with Nitric
How the Nitric framework simplifies security and IAM in the cloud
Using ent. with PlanetScale
How and why to use ent, the entity framework for Go, with PlanetScale


Nitric Update - Nov 2022
November 2022 update on the latest from Nitric
Nitric Update - Oct 2022
October 2022 update on Nitric and the community
Nitric Update - Sep 2022
The latest improvements to Nitric Deploy
Contributors to AWS Lambda container cold starts
Exploring the cause of slow cold start performance for containers running on AWS Lambda
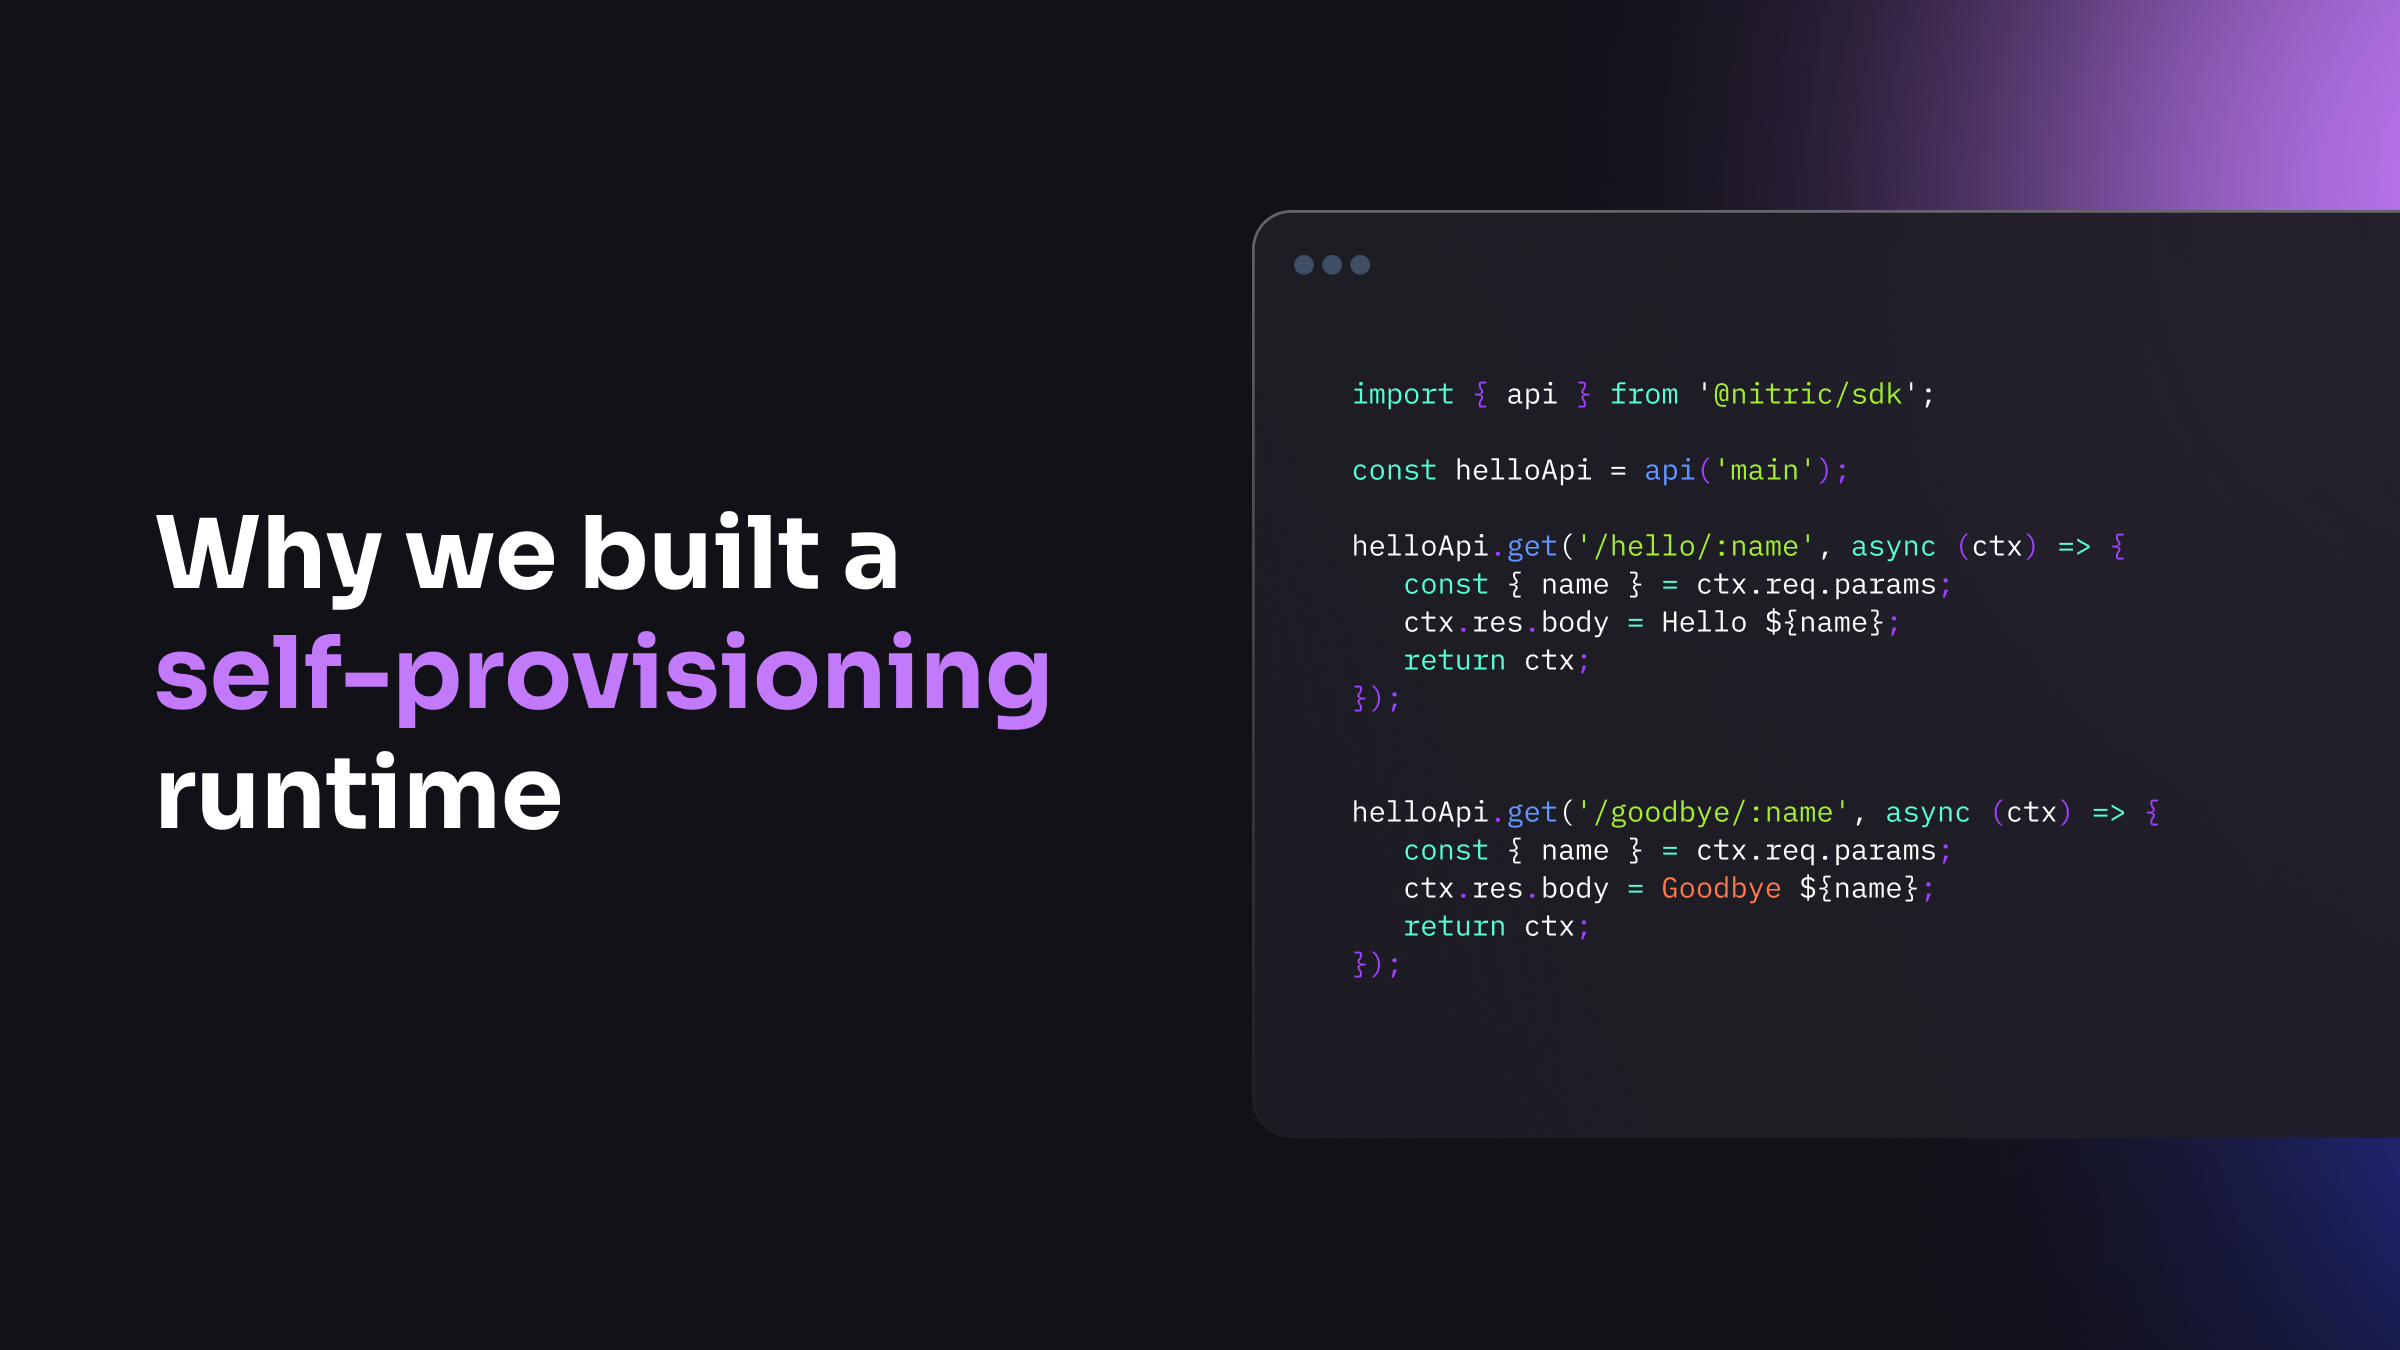
Self-Provisioning Runtimes Streamline DevOps
How the Nitric framework automates infrastructure provisioning
Breaking Monolithic Applications into Microservices
Monolithic applications provide dev challenges over time. Evaluate when to invest in breaking down the monolith into microservices and how to approach it.
Nitric listed in CNCF serverless landscape
Nitric reaches 300 stars and qualifies for CNCF landscape listing
We Automated Repetitive IaC
How we cut down on tedious infrastructure configuration that kills dev productivity
Choosing gRPC for Cloud and Microservice APIs
Why we picked gRPC for the Nitric Server

Azure Container Apps with Nitric
Nitric now supports Azure container apps for deploying compute resources

Nitric Update - Oct 2021
Announcing the latest release of the Nitric Developer Preview, with Azure Support