Setting up a React Website calling your Nitric API
This guide demonstrates how to use Nitric to create an API and a frontend website that interacts with it. We will be using Vite to create a React project and connect it to our Nitric API. The finished source can be found here.
Create a new Nitric project
The first step is to create a new Nitric TypeScript project using the Nitric CLI.
nitric new api-project ts-startercd api-projectnpm install
Creating the frontend
We will use Vite to set up a new React project for our frontend.
npm create vite@latest main-website -- --template react-ts
Navigate to the project directory and install dependencies.
cd main-websitenpm install
Creating a Nitric API
Review the API in your services directory, by default it echos hello name.
import { api } from '@nitric/sdk'const mainApi = api('main')mainApi.get('/hello/:name', async (ctx) => {const { name } = ctx.req.paramsctx.res.body = `Hello ${name}`return ctx})
Configuring Nitric
Add a website resource to your nitric.yaml file, you'll be configuring the base directory, and build/run commands. You can learn more about this configuration.
Nitric websites are currently in preview, so we'll also enable this feature.
name: nitric-vite-reactservices:- basedir: ''match: services/*.tsruntime: nodestart: npm run dev:services $SERVICE_PATHbatch-services: []websites:- basedir: ./main-website# Since this is a Single Page Application (SPA), we need to redirect all requests to the index.html file.error: index.htmlbuild:command: npm run buildoutput: distdev:command: npm run dev -- --port 3000url: http://localhost:3000runtimes:node:dockerfile: ./node.dockerfilecontext: ''args: {}preview:- websites
Updating the Website to call the API
Modify the App.tsx file in the main-website/src directory to fetch data from the Nitric API.
import { useState } from 'react'import reactLogo from './assets/react.svg'import viteLogo from '/vite.svg'import './App.css'function App() {const [count, setCount] = useState(0)const handleApiCall = async () => {try {const response = await fetch('/api/main/hello/world')if (!response.ok) {throw new Error('Network response was not ok')}const message = await response.text()alert(message)} catch (error) {console.error('There was a problem with the fetch operation:', error)}}return (<><div><a href="https://vite.dev" target="_blank"><img src={viteLogo} className="logo" alt="Vite logo" /></a><a href="https://react.dev" target="_blank"><img src={reactLogo} className="logo react" alt="React logo" /></a></div><h1>Vite + React</h1><div className="card"><button onClick={() => setCount((count) => count + 1)}>count is {count}</button><p>Edit <code>src/App.tsx</code> and save to test HMR</p></div><button onClick={handleApiCall}>Fetch Data</button><p className="read-the-docs">Click on the Vite and React logos to learn more</p></>)}export default App
Running the project
Run the following command in your project directory to start both the API and the website:
nitric start
This will launch both the backend API and the frontend website. The website will be available at localhost:5000.
Testing the API
You can also preview your website from within the Nitric dashboard, open the local dashboard at localhost:49152, then navigate to the Websites tab.
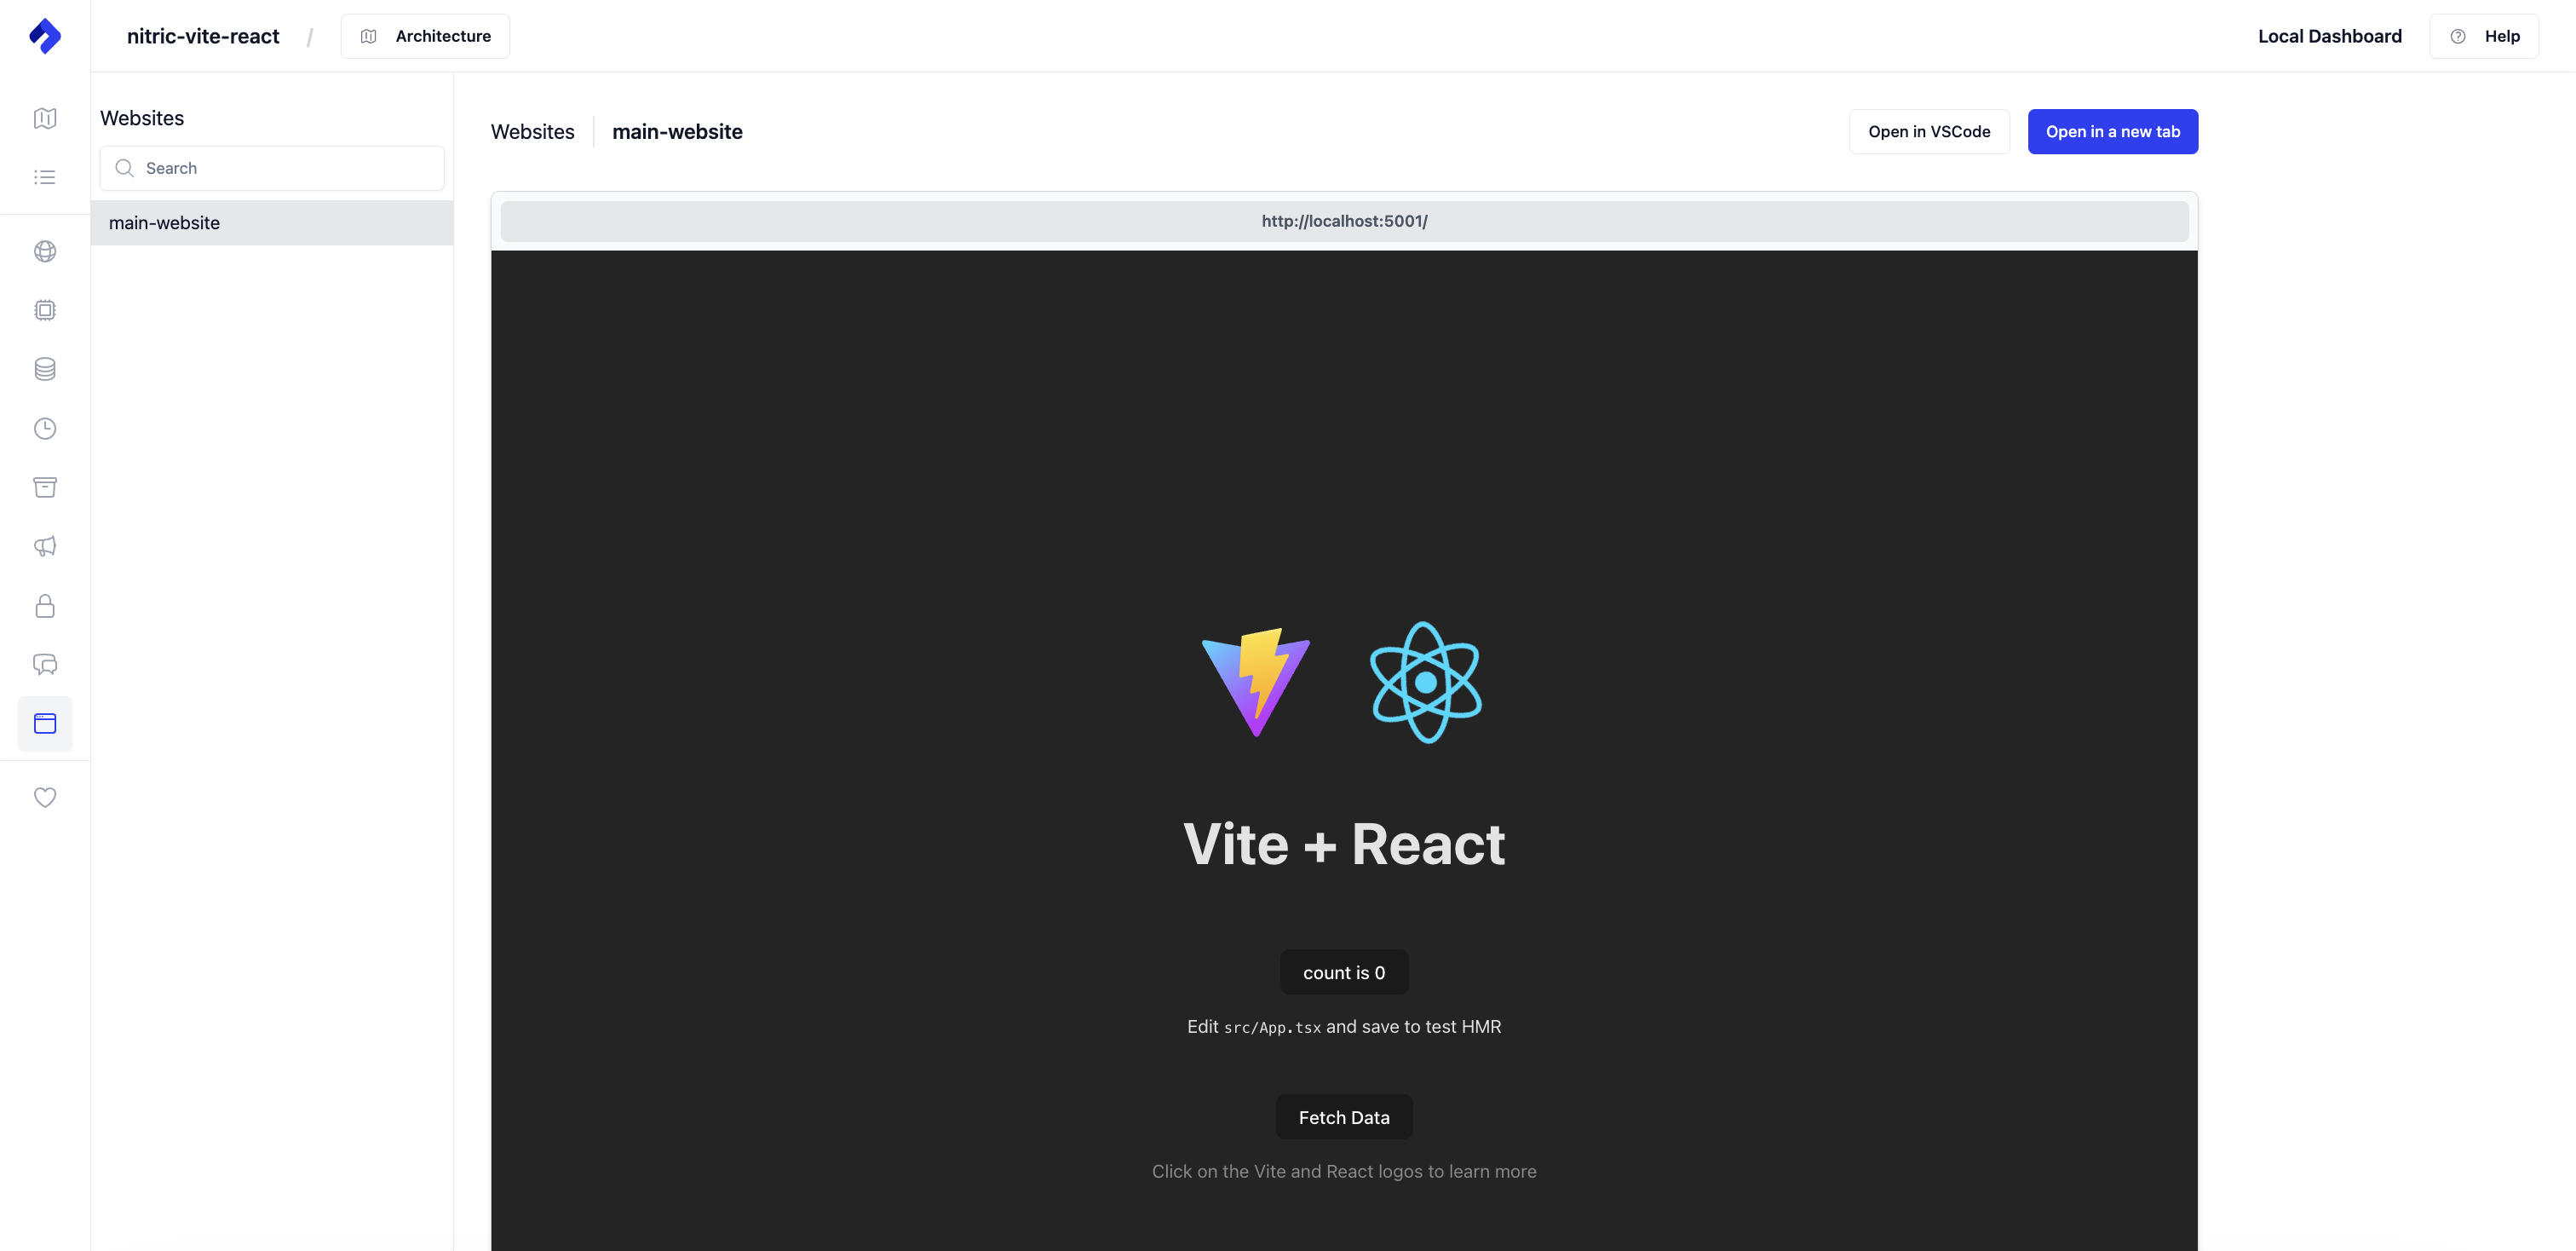
Click the Fetch Data button in the UI to call the API. If successful, you should see an alert displaying the message "Hello world".
Deploying to AWS
Create your stack
Create an AWS stack called aws-staging for your staging environment.
nitric stack new dev aws
Inside the stack file, ensure you set your region.
provider: nitric/aws@latestregion: us-east-2
Deploy
Deploy to AWS using the nitric up command. Ensure you have set up your AWS credentials correctly.
nitric up
Tear down
To avoid unwanted costs of running your test app, you can tear down the stack using the nitric down command.
nitric down
What's next?
You now have a basic Website and API all wired up together, use this as a basis for your next app idea!
Have feedback on this page?
Open GitHub Issue