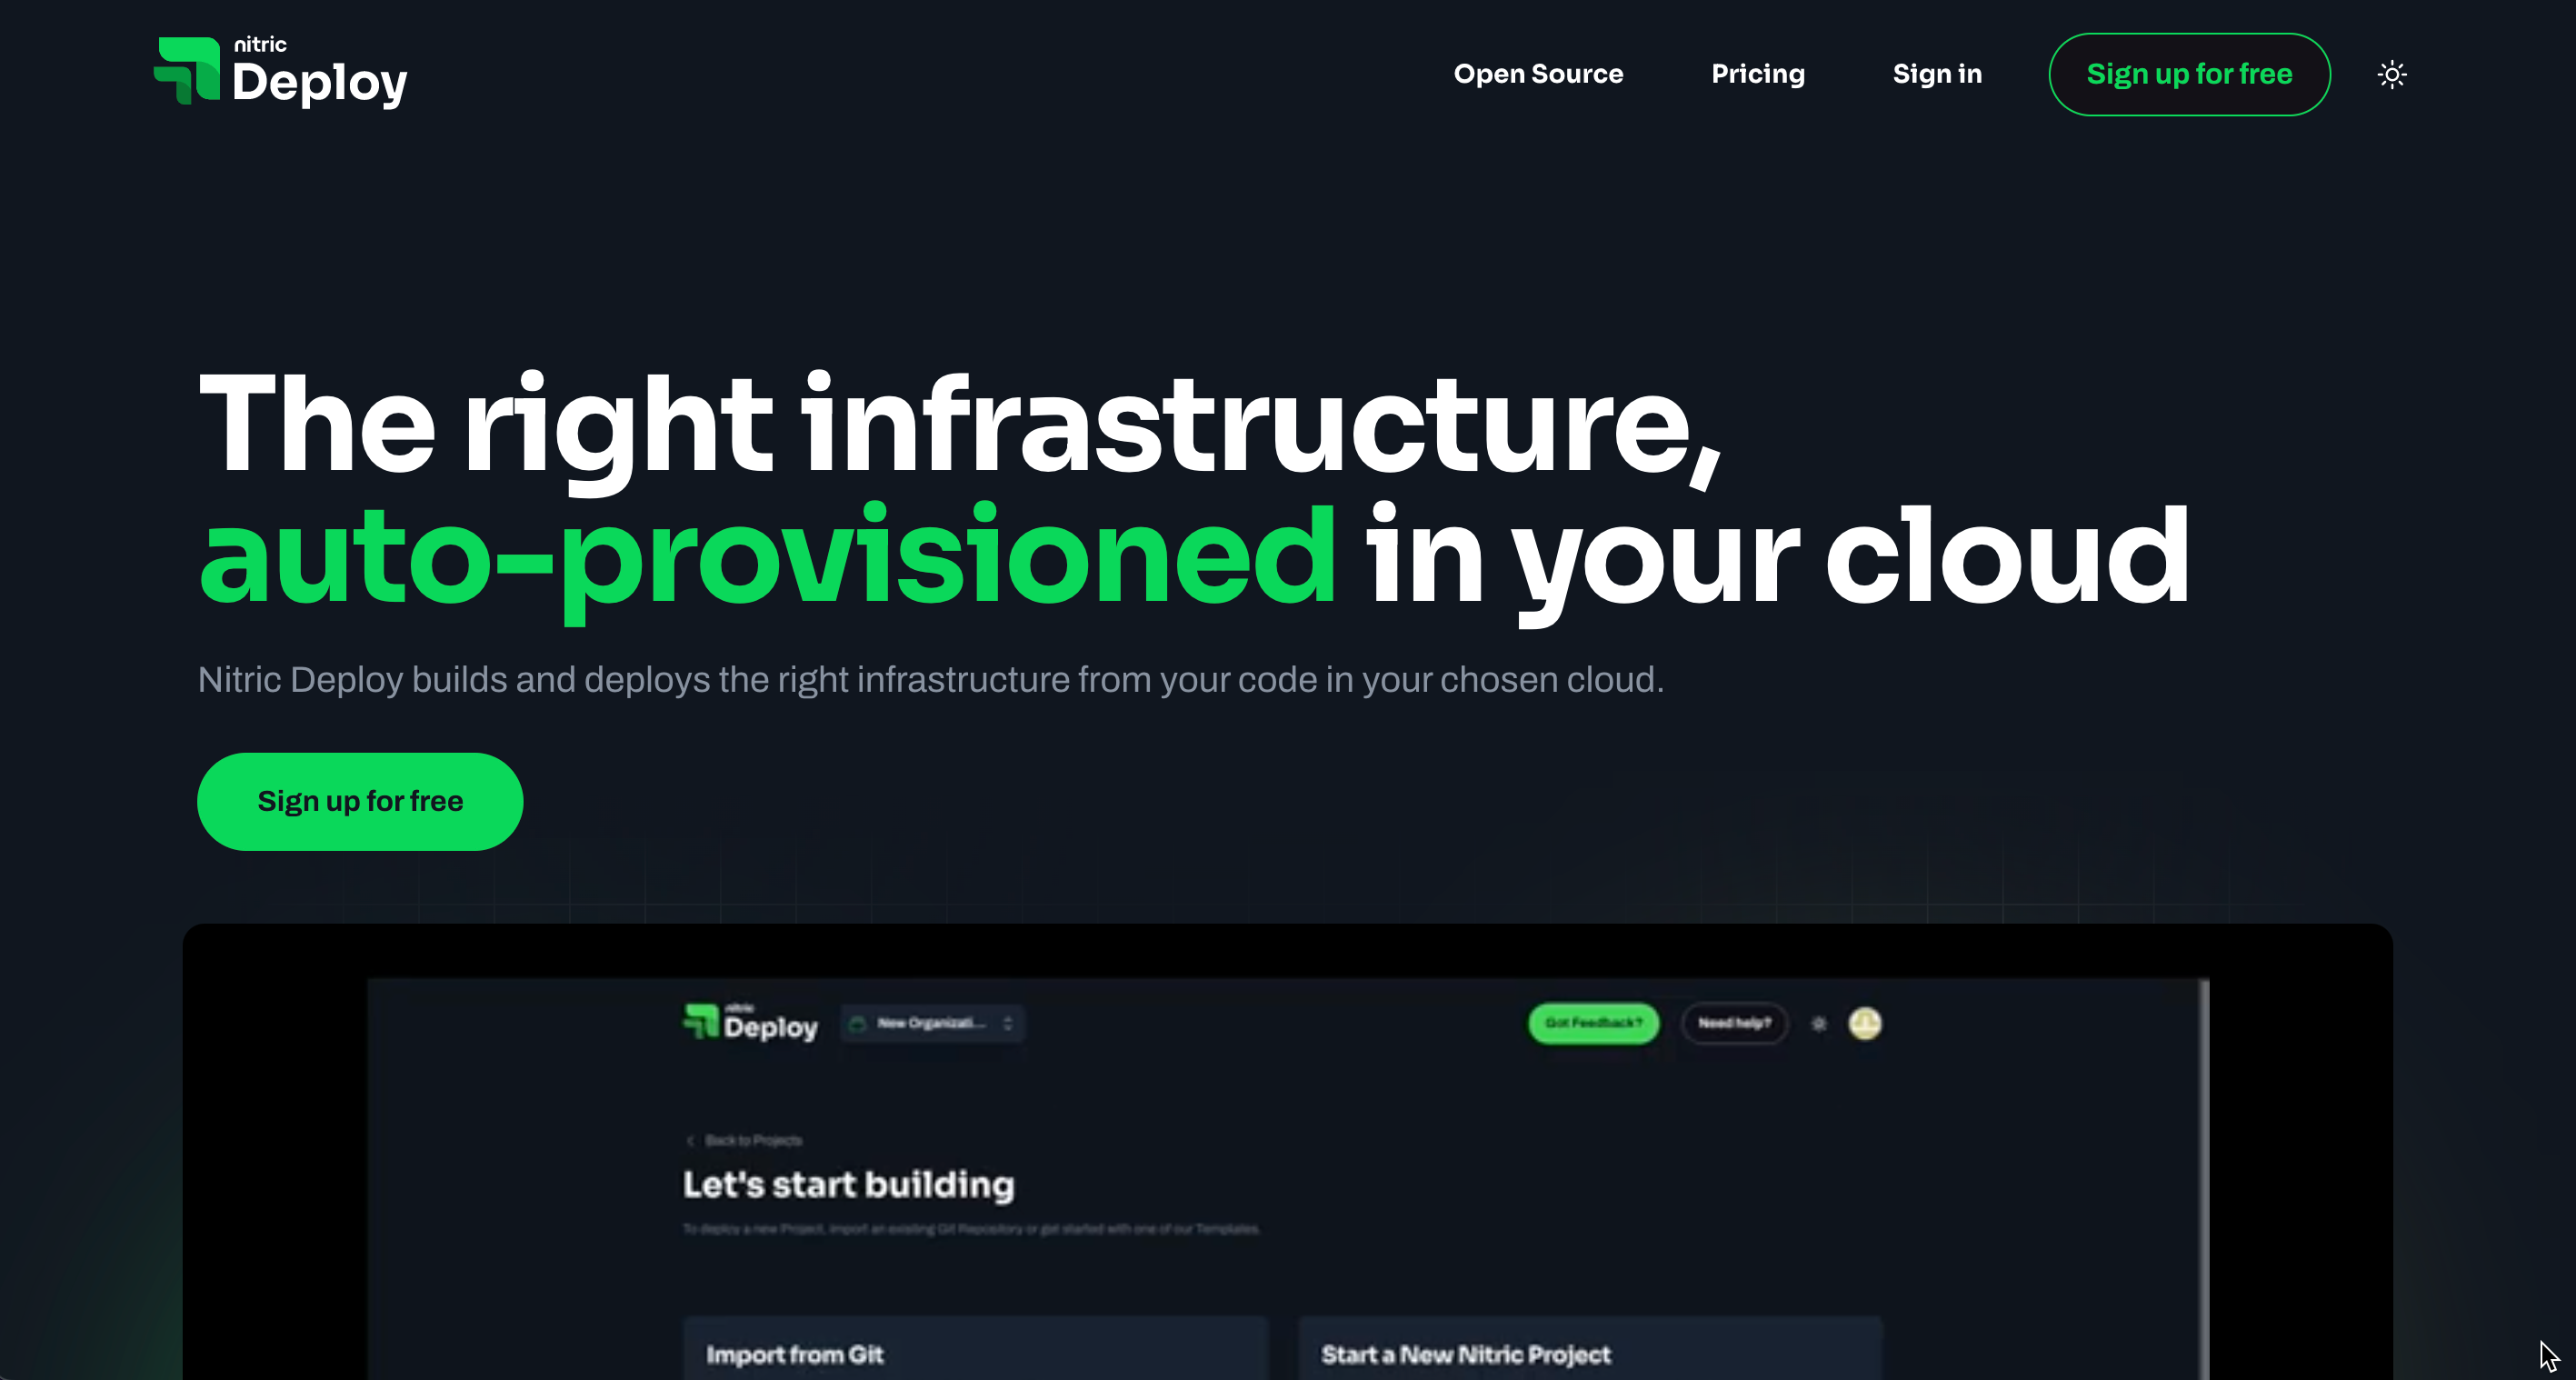
Deploying with Nitric Deploy
The public preview phase for Nitric Deploy has concluded and we're no longer accepting sign-ups at this time. We're incredibly thankful for the support and feedback we've received from our preview participants, which has been invaluable in helping improve both Nitric Deploy and the open source Nitric Framework.
We're hard at work on the future of the open-source Nitric Framework and other services from the team at Nitric. We appreciate your interest and encourage you to follow our latest announcements elsewhere on this site, GitHub and Discord.
What we'll be doing
In this guide, we'll walk through the steps of getting started with Nitric Deploy. You'll deploy a new project in just a few minutes.
- Sign in to Nitric Deploy
- Create an organization
- Set up a connection to AWS
- Create or import a project
- Create an environment
- Configure environment variables
- Deploy your project
- View the logs
Sign in to Nitric Deploy
Nitric Deploy can be accessed by navigating to deploy.nitric.io - you'll be greeted by our sign-in screens. Follow the prompts to sign in with GitHub.
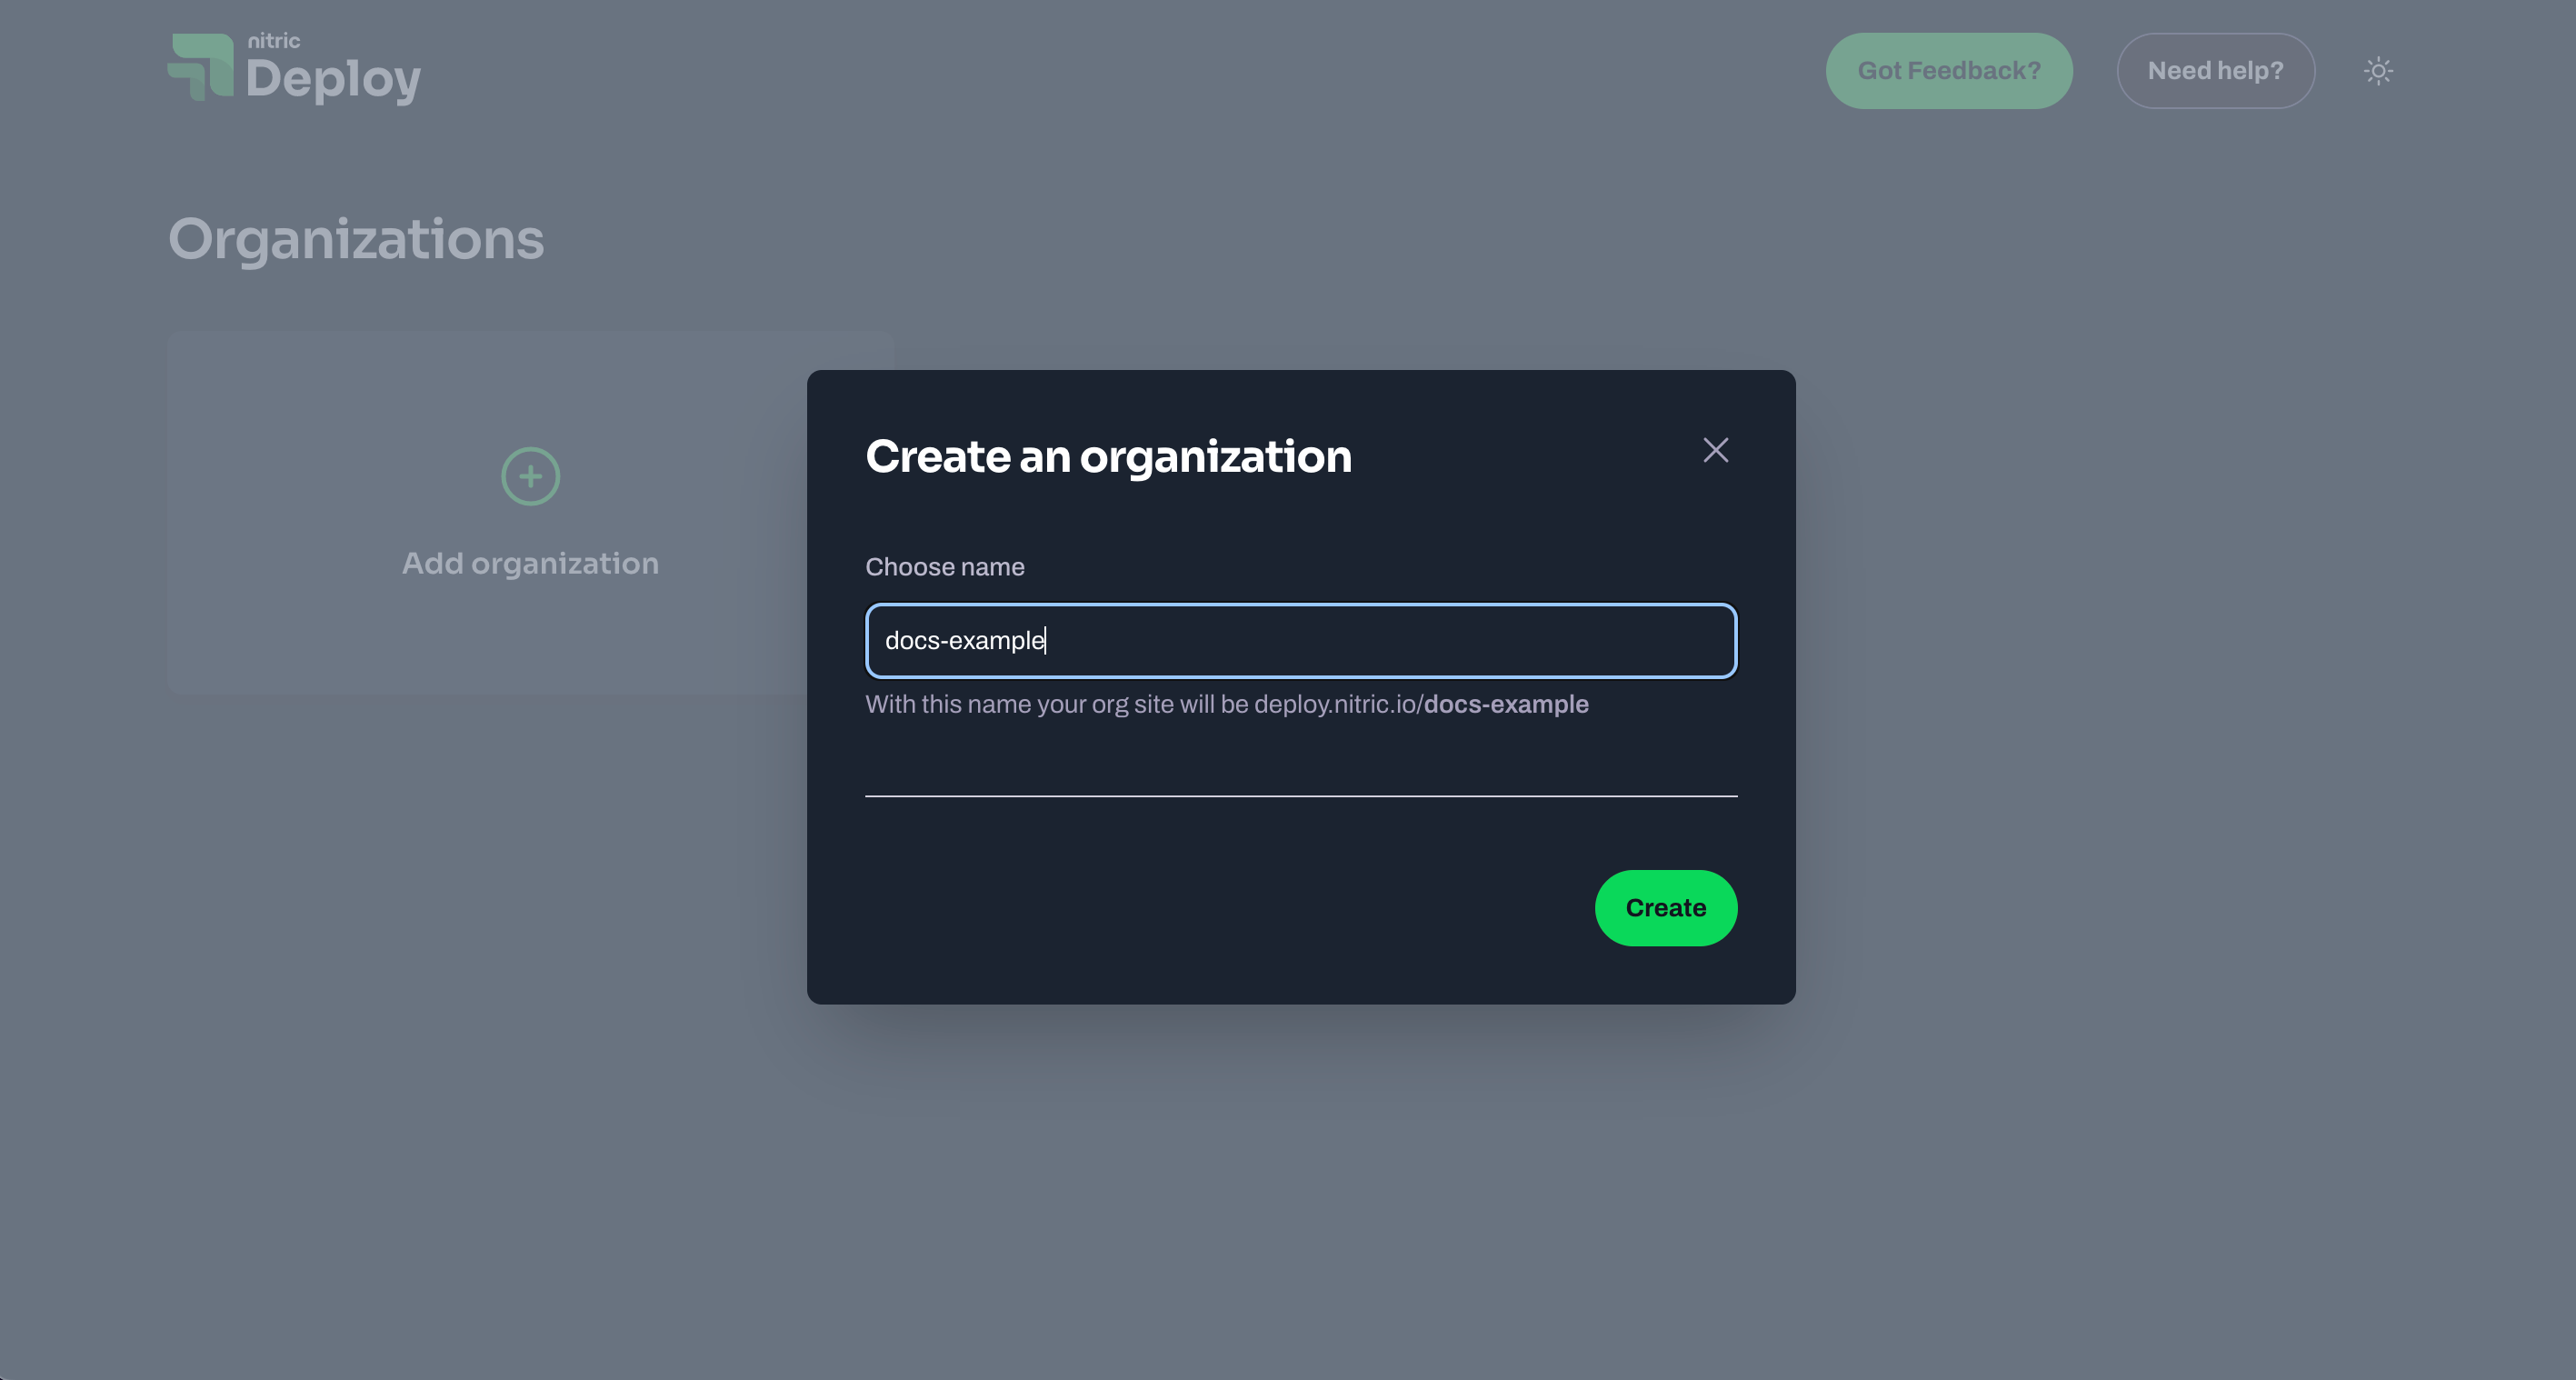
Create an organization
Organizations allow you to group your projects. For example, I have an organization that contains all of my demo projects.
Let's create a new organization and give it a name.
Set up AWS connection
The next step is to set up a connection to your AWS account from your new organization. Navigate to Settings > Connections and click Create connection. You can follow the instructions provided in the Create Connection dialog for steps to create the appropriate role in AWS and link it with your Nitric Deploy organization.

It can be useful to give the Nitric Connection and AWS Role the same name,
so you can remember their association later.
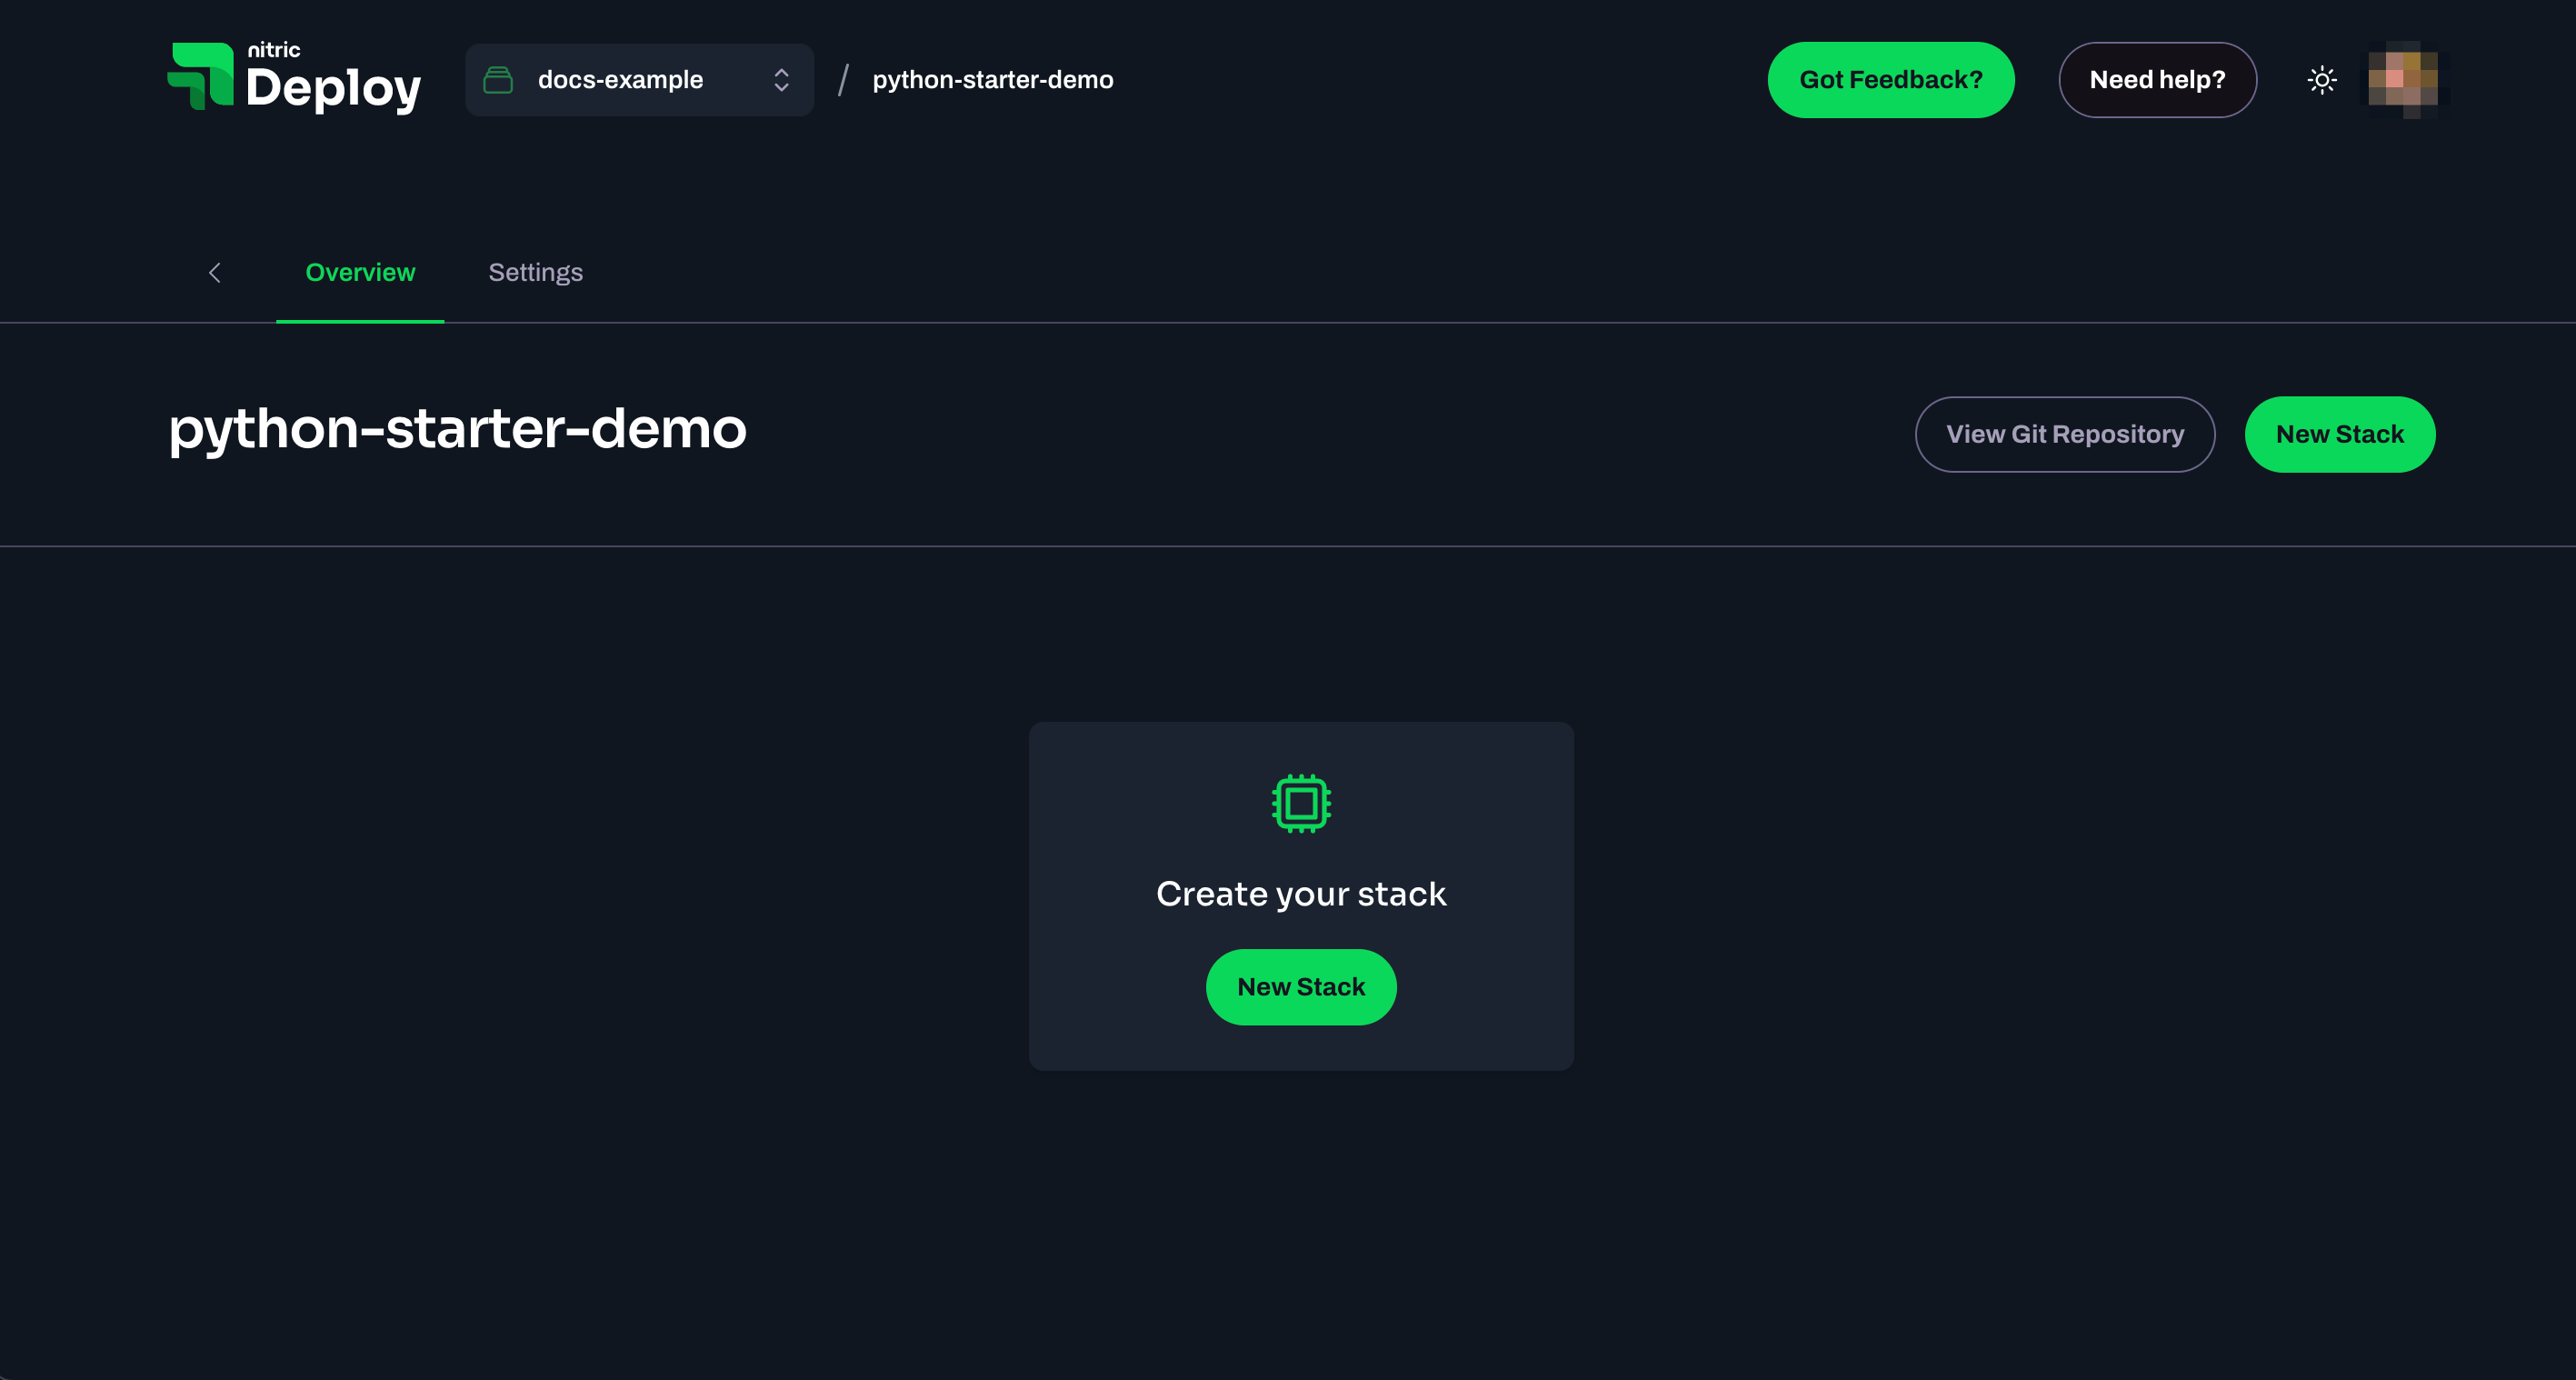
Create or import a project
Projects can be imported from existing Git repositories or you can scaffold a new project from one of the templates. Start by clicking New Project then choosing one of the two options below.
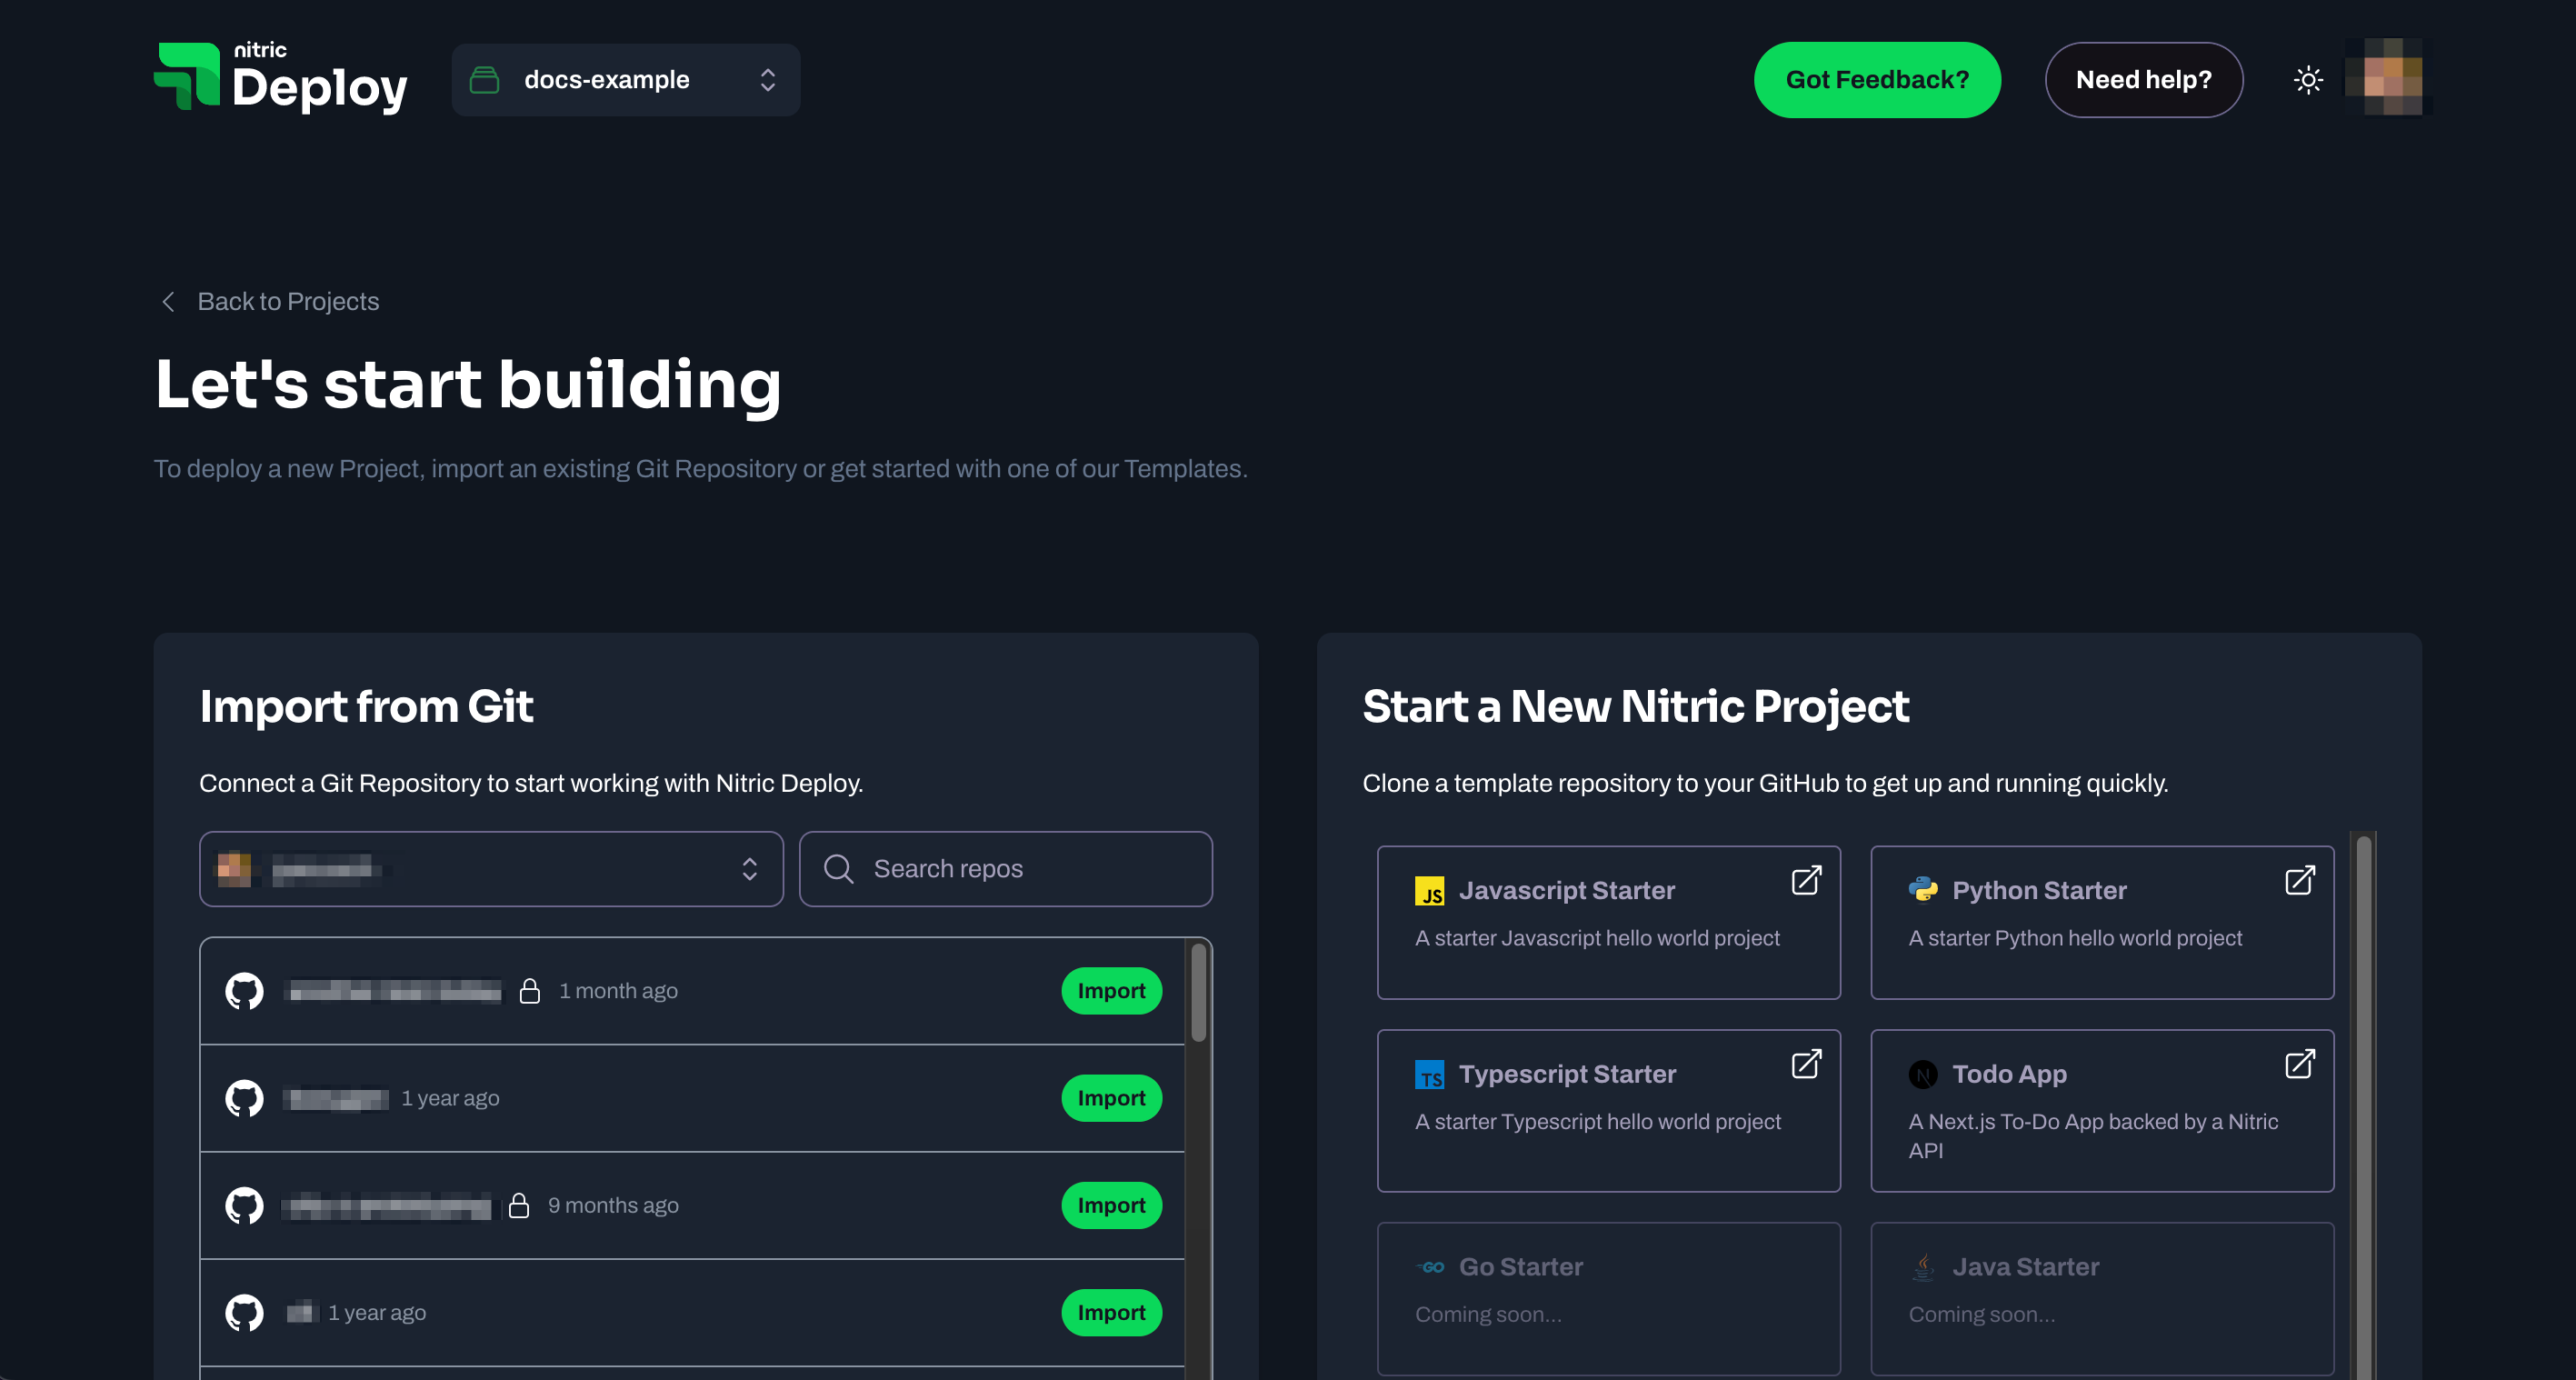
Existing projects
To import an existing project it must contain a nitric.yaml file. This is automatically created and configured correctly using a template with the Nitric CLI or Nitric Deploy.
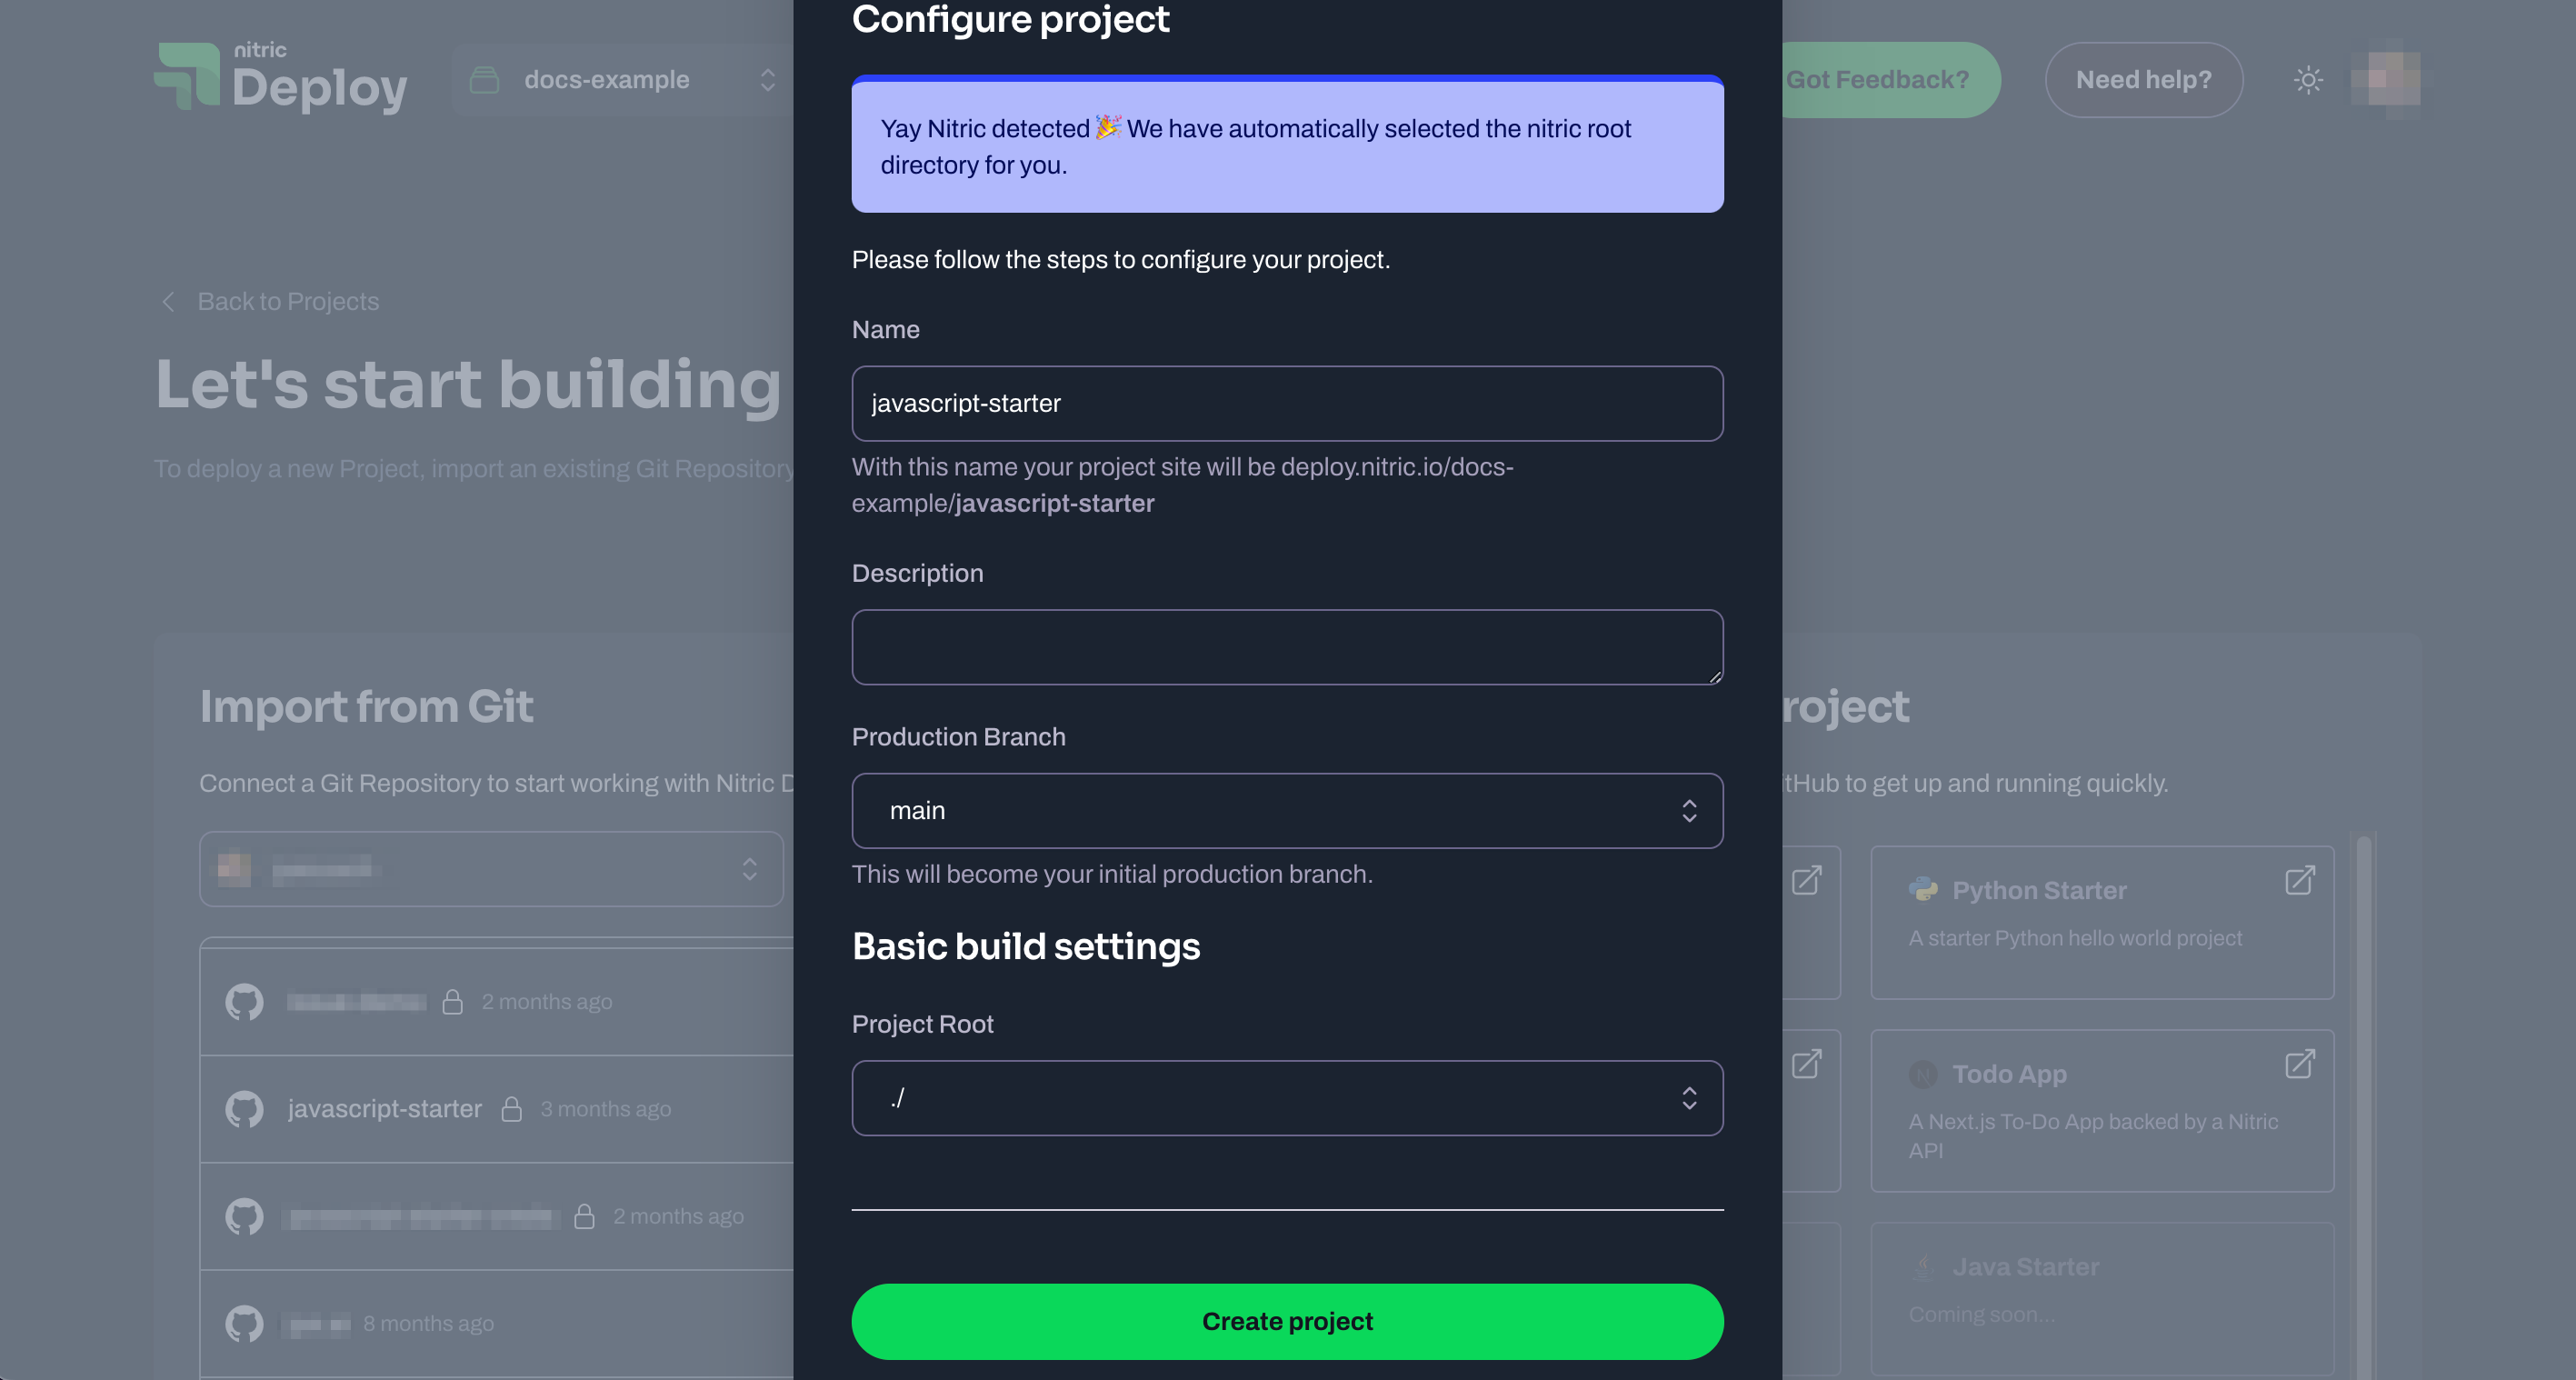
In this scenarios, you need to choose a production branch. This is the branch Nitric Deploy watches for any push events and triggers a deployment.
You also need to specify which directory the Nitric source code is in - by
default this would be the root directory ./ but could be a few levels deeper
if you are working in an existing monorepo.
New project from a template
Our template projects will give you a starting point with, typically with a basic REST API.

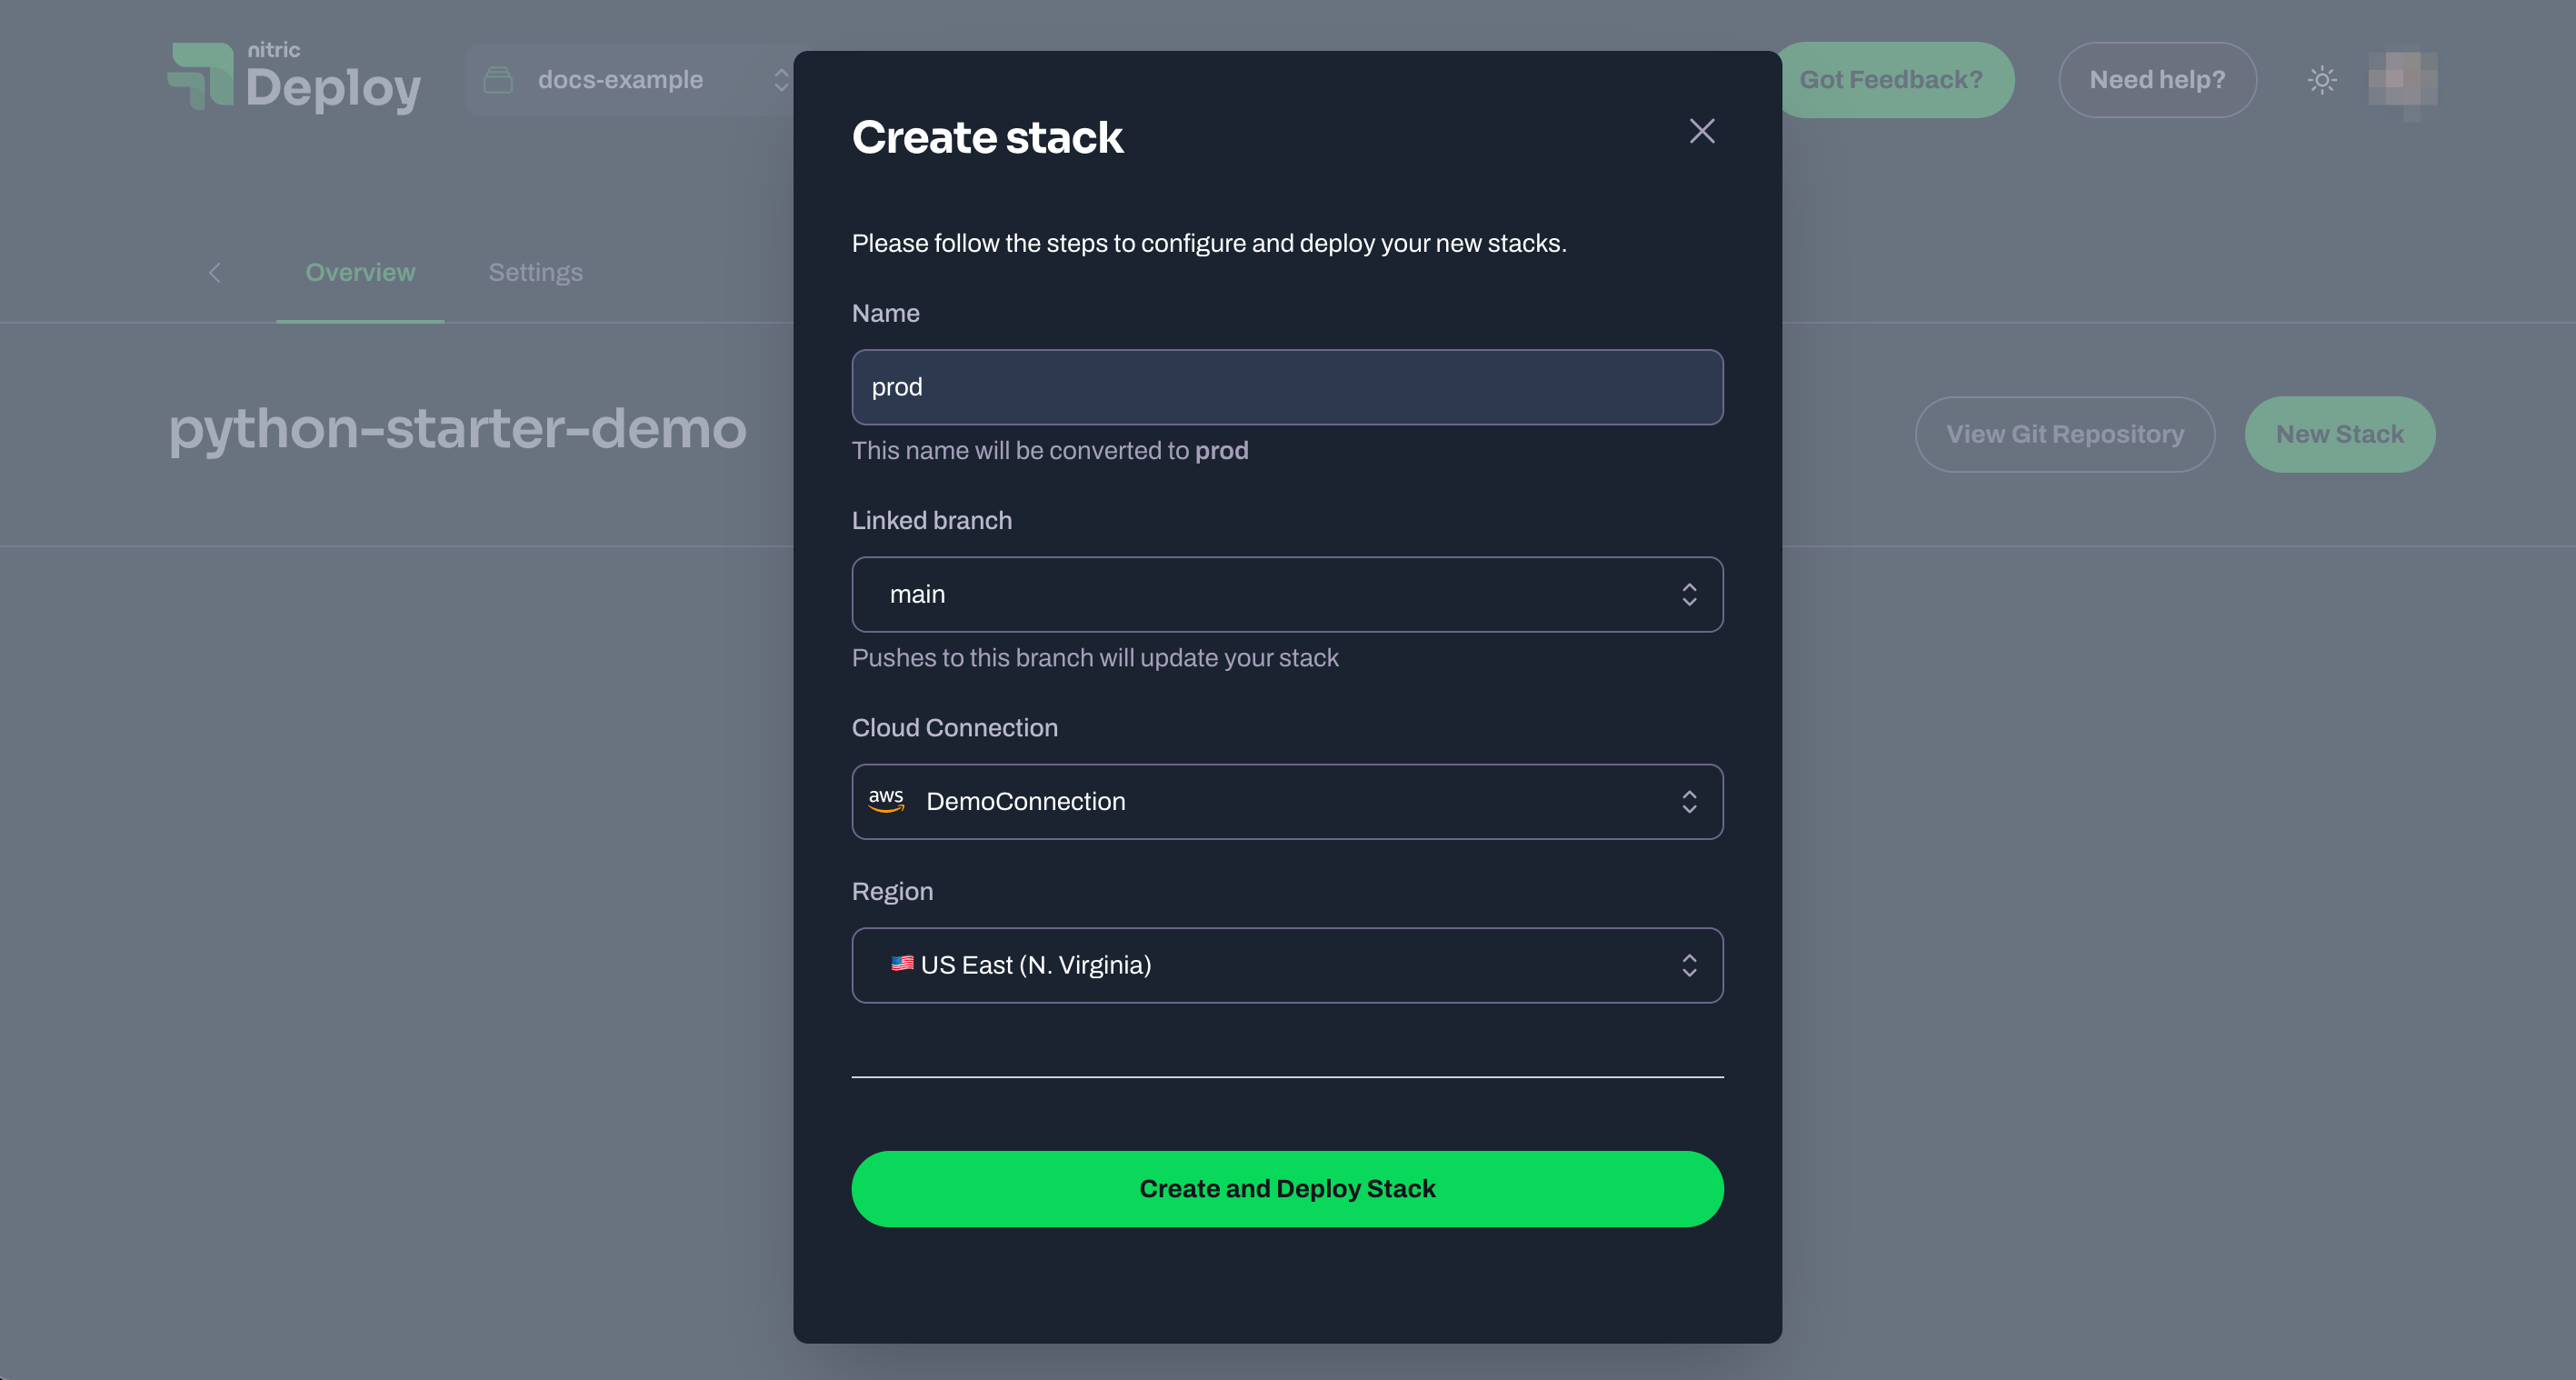
Create a Stack
Stacks represent deployed instances of your application using a specific cloud connection and region. You can have one or more stacks based on the development workflow you follow (e.g. dev, staging, prod), or if you need stacks in other regions or using different cloud connections.
Once you've created a stack, Nitric Deploy will automatically initiate your first cloud deployment.
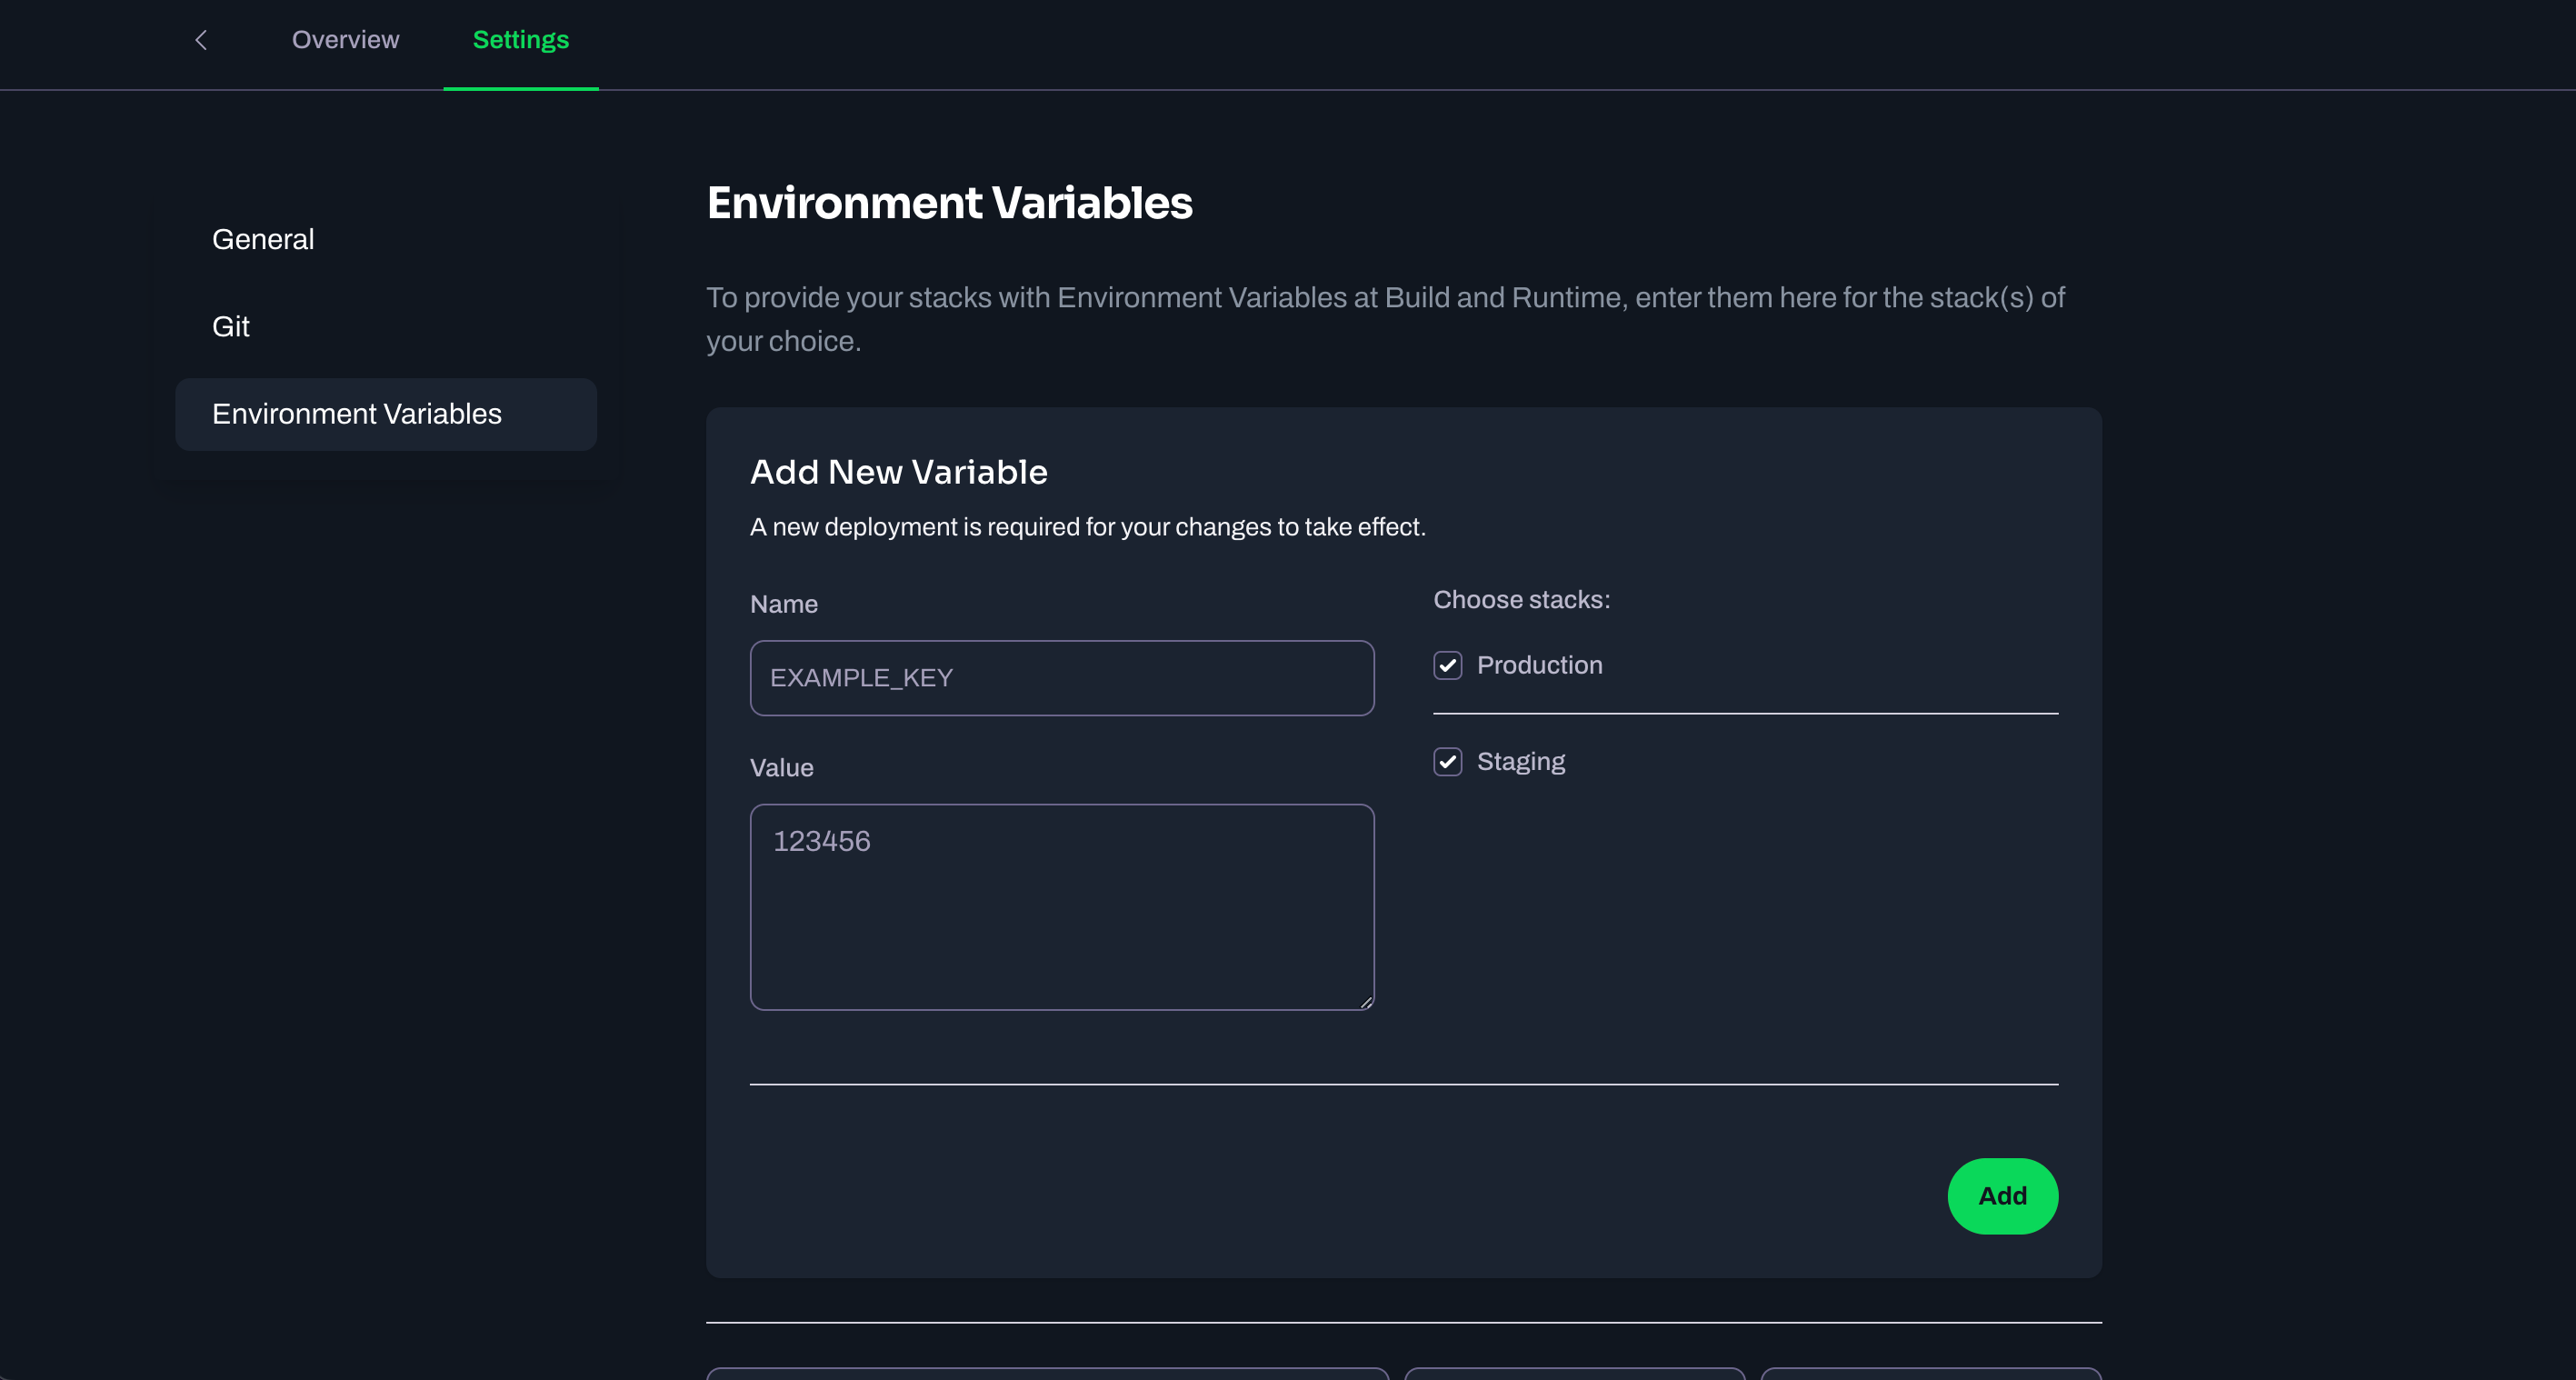
Configure environment variables
If your project requires variables, they can be added in project settings.
Changes to variables will require a redeploy, which can be triggered from the project's home.
Deploy your project
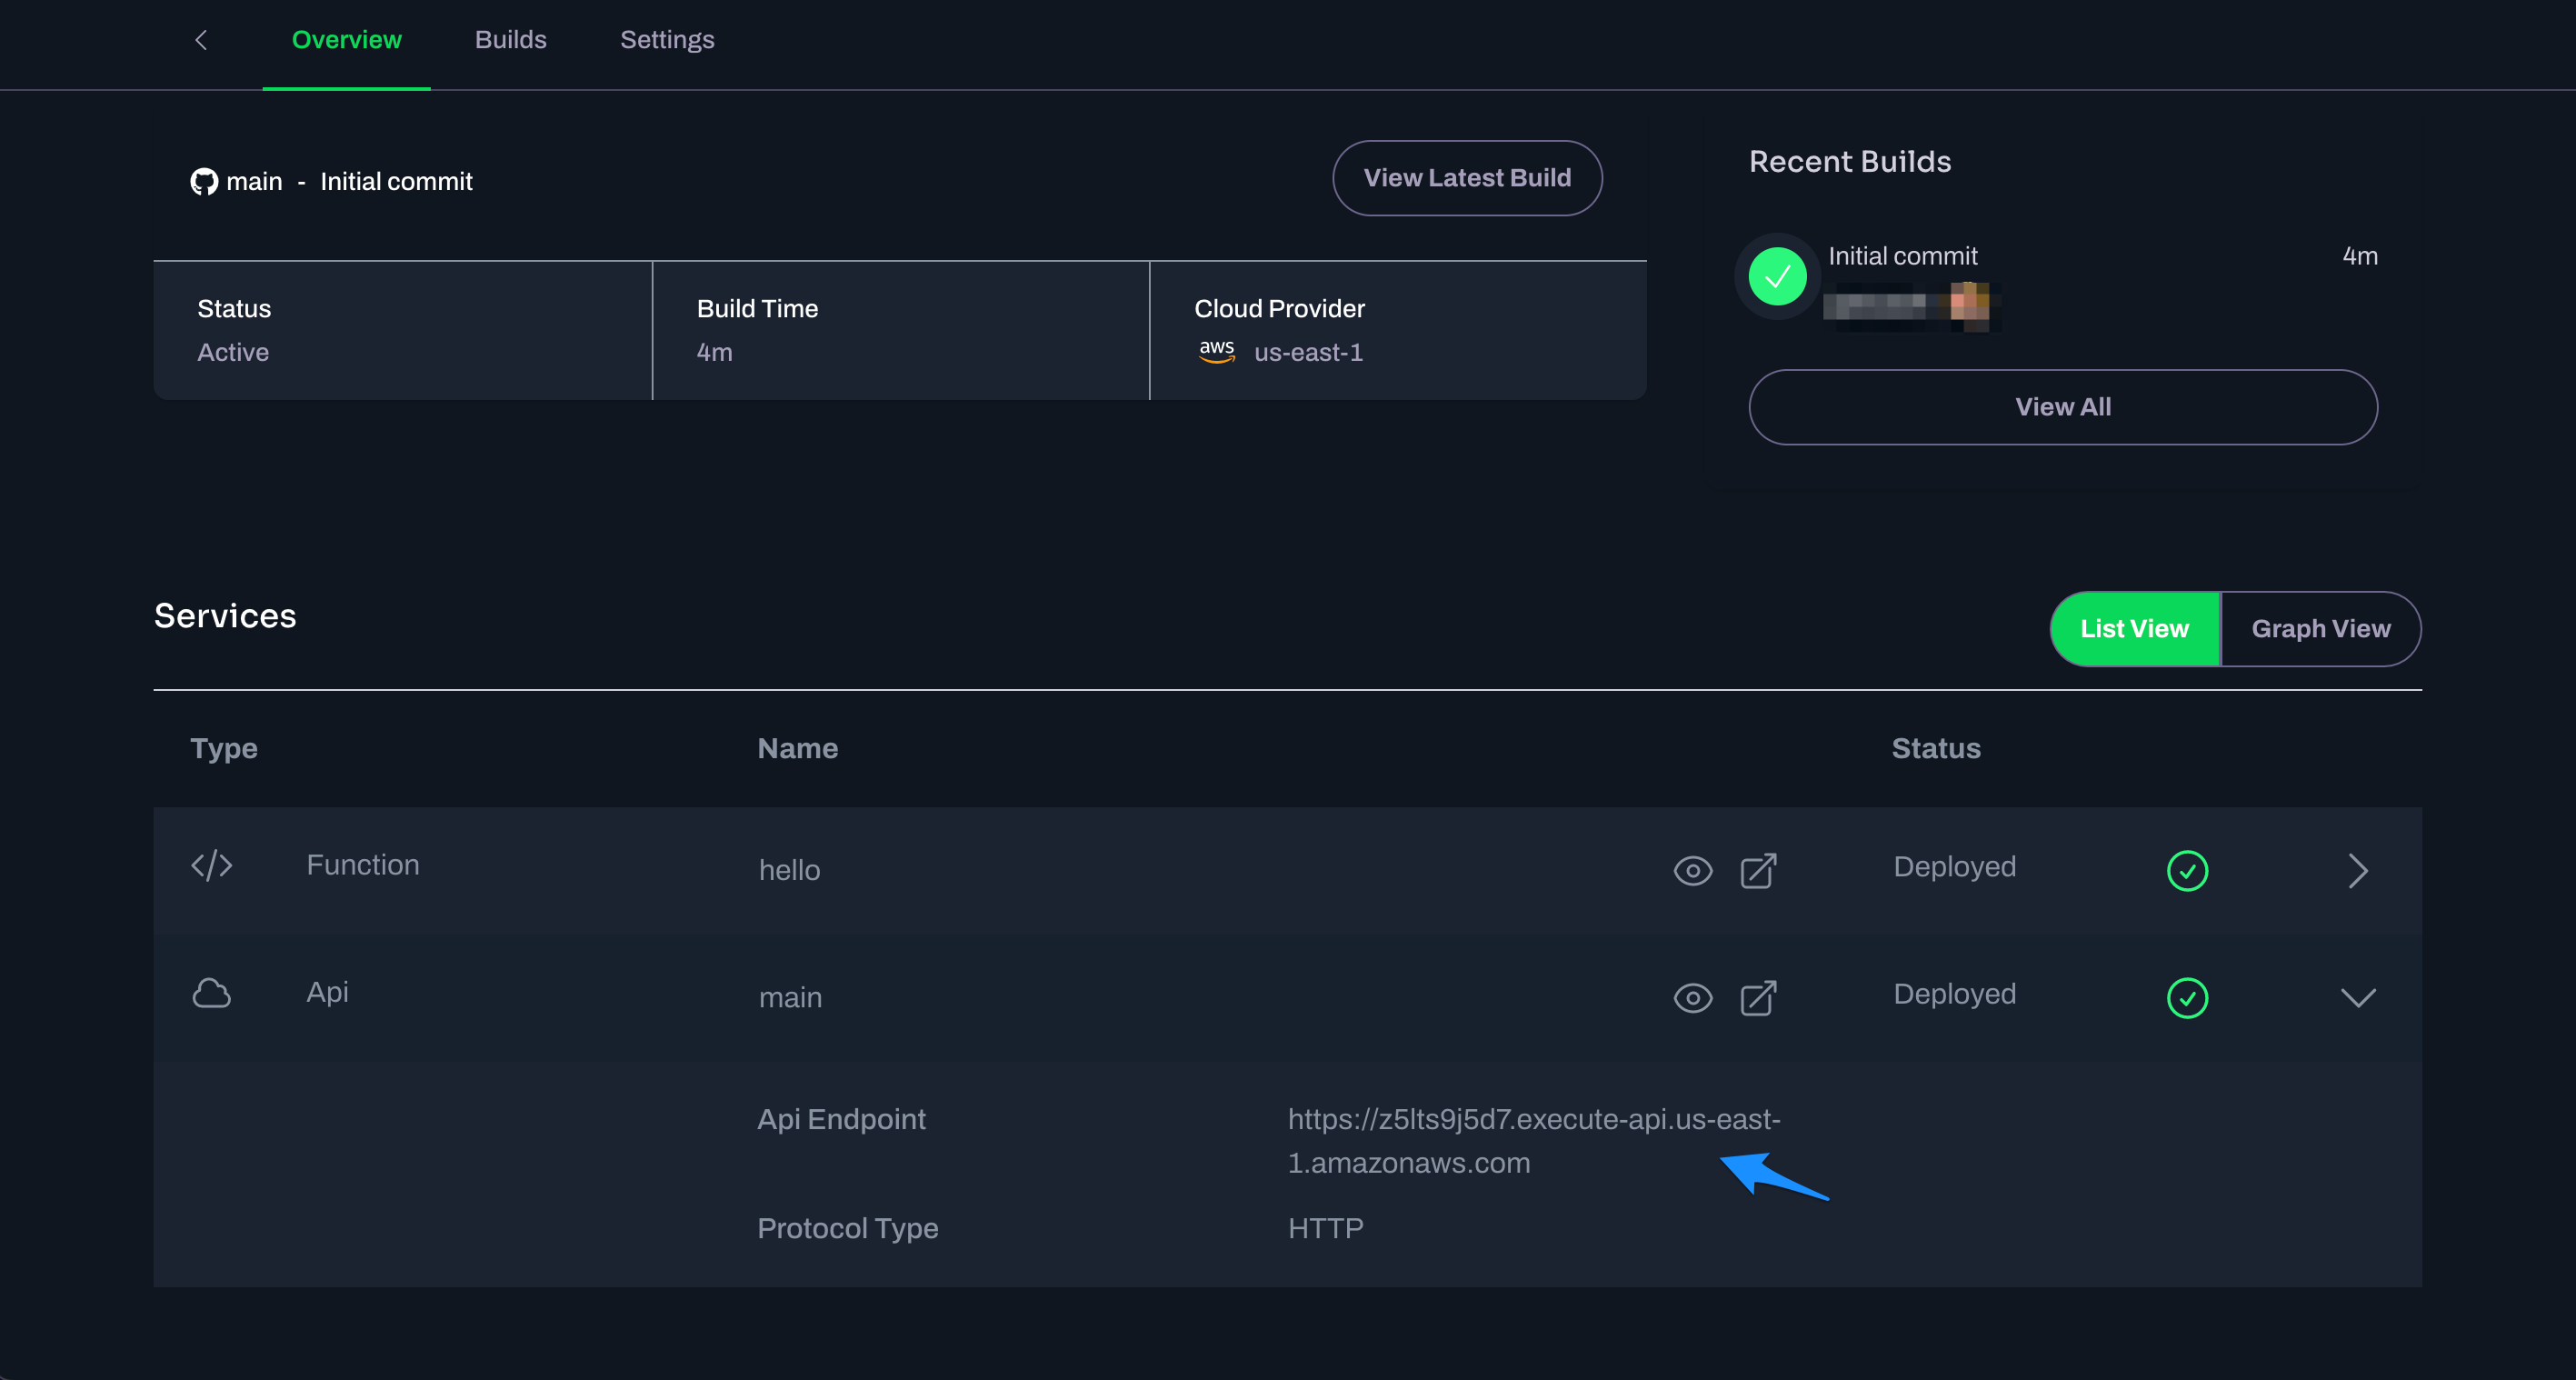
Your project will automatically deploy when you create a stack and the right cloud infrastructure will be automatically provisioned. It will also deploy each time you push to the linked branch selected when creating your environment.
Once you see the deployment tick over to success with a 'tick' you'll also notice that your preview/production URL is displayed. You can use this to access your deployed API.
If you scaffolded a template project then you can test the API out with the following command.
curl https://{url}/hello/user
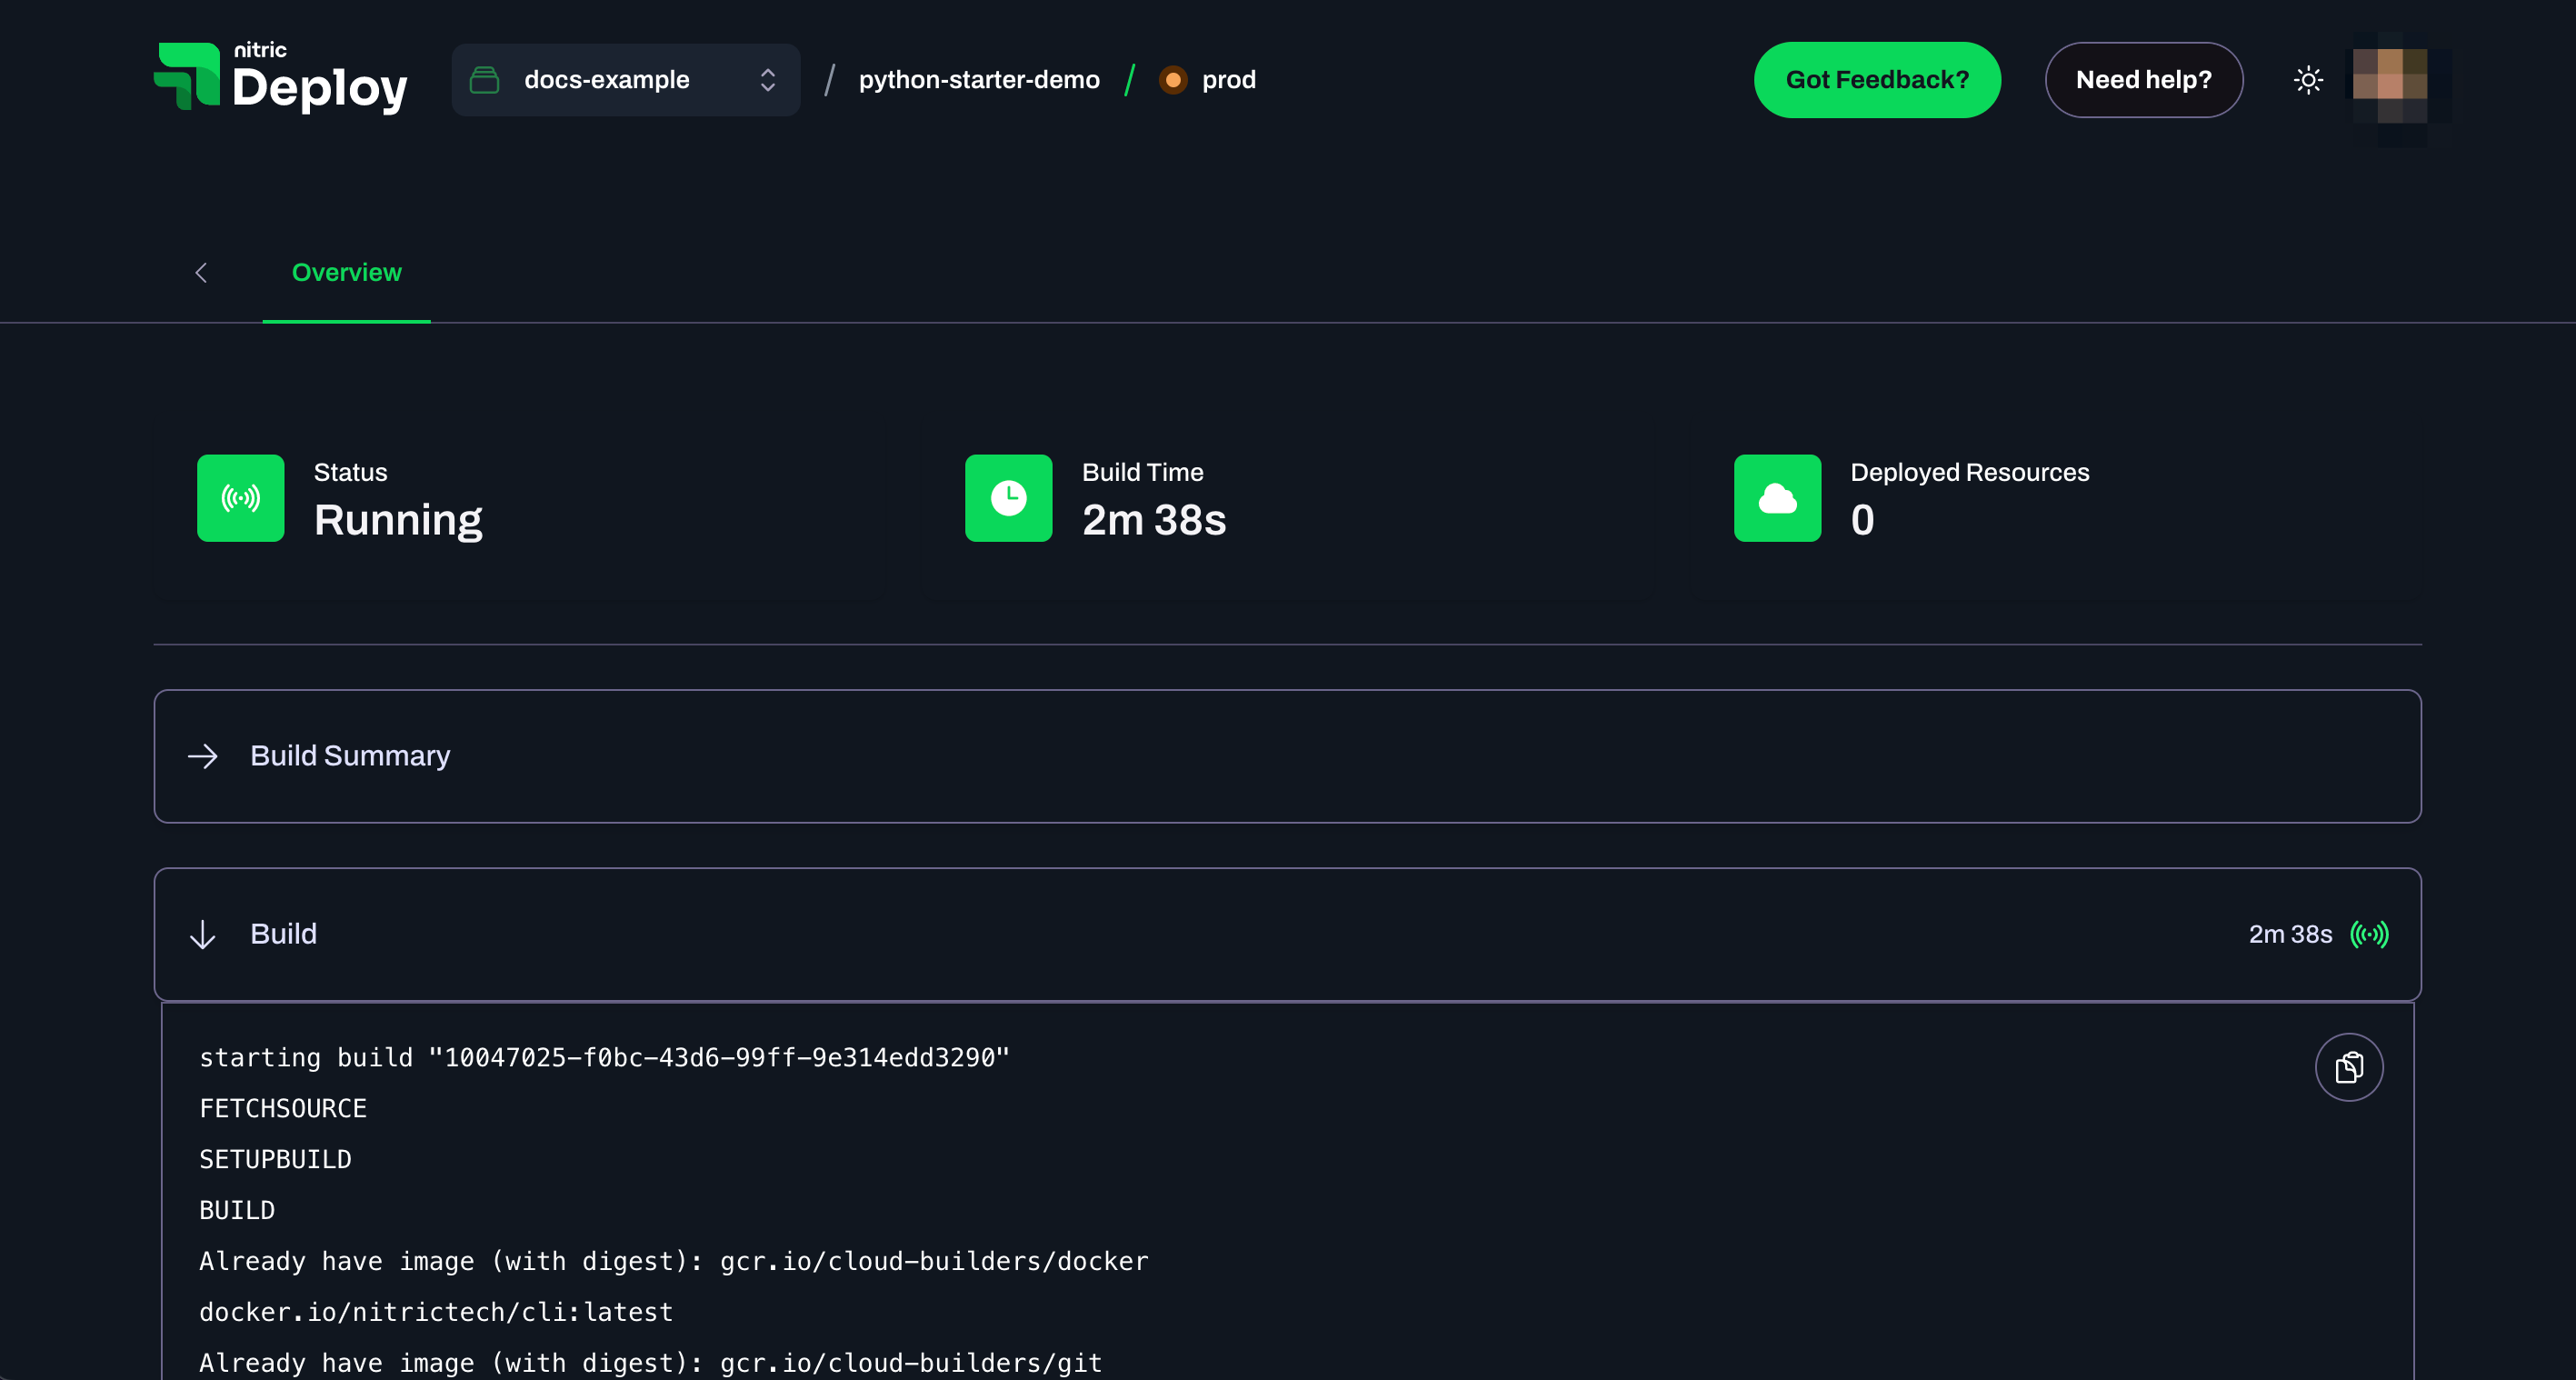
View the logs
By clicking on 'view latest build' we can see the details and retrieve the deployment log information.
That's it! With just a few clicks, you've deployed a project to your cloud and don't have to manage environments or infrastructure state.
What's next?
Try one of the following activities to keep going with Nitric:
- Update your code and push it to the configured branch
- Get started on one of our guides to build a new project with the Nitric CLI
- Join our Discord to ask questions or get help with your next project